Google Pixel 入坑指南
这是一份写给国内 Pixel 新用户的、从零开始的完整入坑指南❤️
本文基于笔者约 16 小时的实机实验、踩坑排查和整理撰写,目标不是简单罗列命令!
而是把一台刚拆封的 Pixel 在国内环境下如何完成:
- 联网认证、首次开机、OEM 解锁、USB debugging
- 镜像下载、Magisk patch
- bootloader 解锁、刷入 patched init_boot、重新初始化
- 重新安装 Magisk、验证 root
- 后续备份复盘
按真实操作顺序完整走一遍。有详细的图文教程, 确保"说人话" 🚀
网上关于 Pixel 国内使用、代理联网、root、Magisk、fastboot 的资料很多,但大多分散在社区帖子、问答和片段教程里,默认读者已经知道很多前置知识。
本文尝试把这些离散信息重新组织成一份自顶向下、图文并茂、手把手的实践记录:每一步为什么做、做完应该看到什么、哪些现象不一定是问题、哪些操作绝对不要乱碰,都会尽量写清楚。
它既是一篇教程,也是一份给未来自己的可复现记录 🛰️✨
Carrot Hu. 2026.0514
Step 1: 通过现有设备VPN实现pixel连接外网服务器认证
现有设备:
- iPhone 13, with
shadowrocket - MacOS Sequoia, with
clash verge - Pixel, 刚拆封首次开机
- 一根 iPhone 到 Mac 的数据线
这套方案不依赖校园网认证, 也不依赖 Pixel 先进入系统、ADB、USB debugging
处理思路:
- iPhone 通过 USB 给 Mac 供网
- Mac 连上网, 开启代理/TUN
- MacOS Internet Sharing 生成 Wi-Fi (命名:
pixelsetup), 准备给 Pixel 连接 - Pixel 开机, 连接
pixelsetup - Pixel 成功进入 Google setup 流程
拓扑安排:
| Bash | |
|---|---|
1 2 3 4 5 6 7 | |
(1) iPhone 通过 USB 给 Mac 供网
iPhone 端
设置 → 个人热点 → 允许其他人加入
然后用数据线连接 iPhone 和 Mac
iPhone 弹出: Trust This Computer?
选择: Trust / 信任
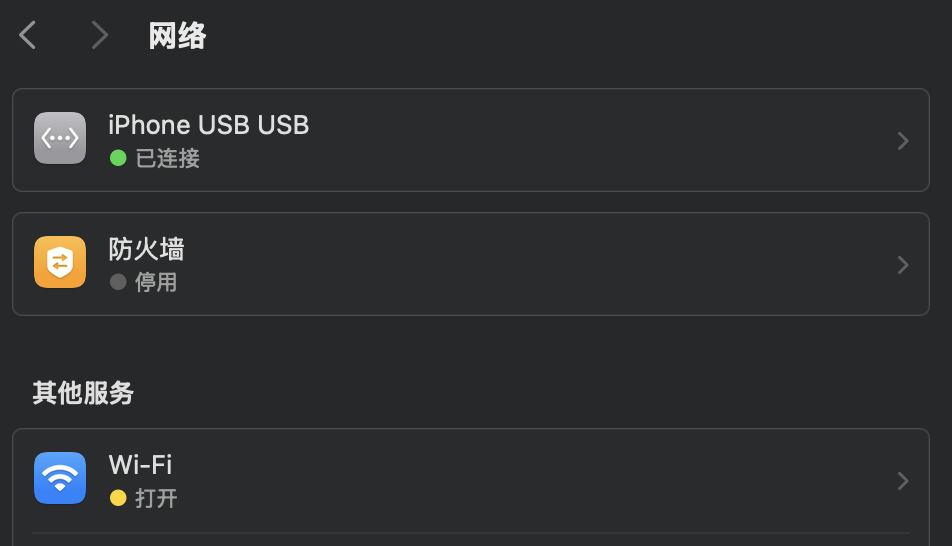
Mac 端确认 iPhone USB 出现
| Bash | |
|---|---|
1 2 | |
可见:
| Bash | |
|---|---|
1 2 3 4 5 6 7 8 | |
也就是说, 从网口角度:
iPhone USB = en9Wi-Fi = en0
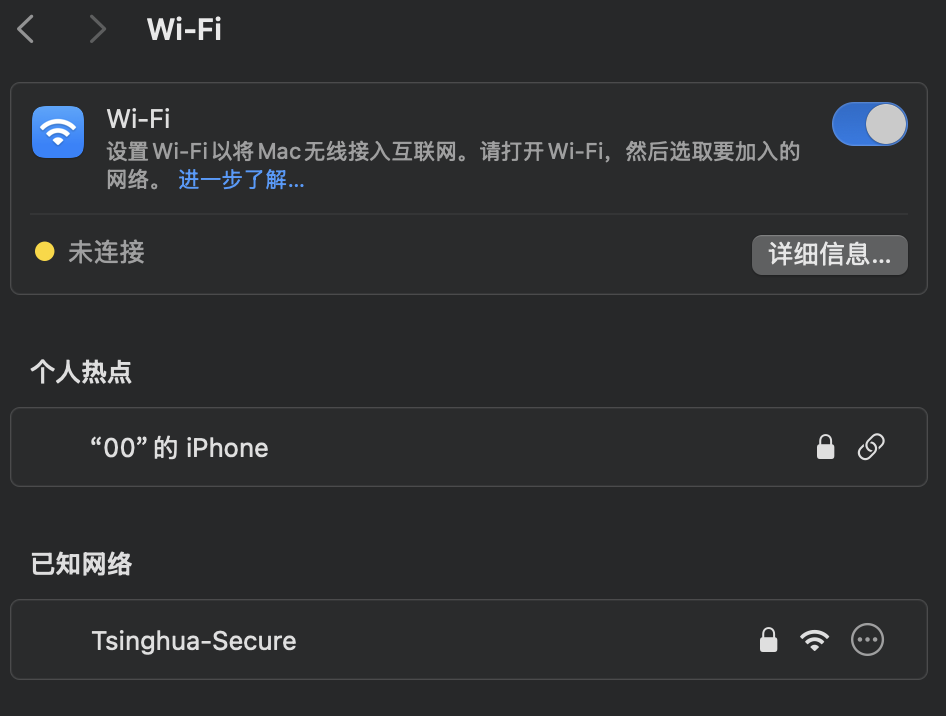
(2) Mac 关闭 Wi-Fi 连接, 但不要关闭 Wi-Fi
Wi-Fi要打开, Mac 的 Wi-Fi 要用来发热点!
但是, 它不能再连接 iPhone 热点、校园网或其他 Wi-Fi!!!
正确状态是:
- iPhone USB: 负责 Mac 上网
- Wi-Fi: 打开,但不连接任何 Wi-Fi,用来发 PixelSetup
如图所示:
(3) Mac 开 Clash Verge
在 Clash Verge 里设置:
- TUN Mode:
On - Mode:
Global
建议同时打开这些类似选项,具体名字随版本不同:
- Allow LAN / 允许局域网连接
- Service Mode
- Auto Route
- Auto Redirect
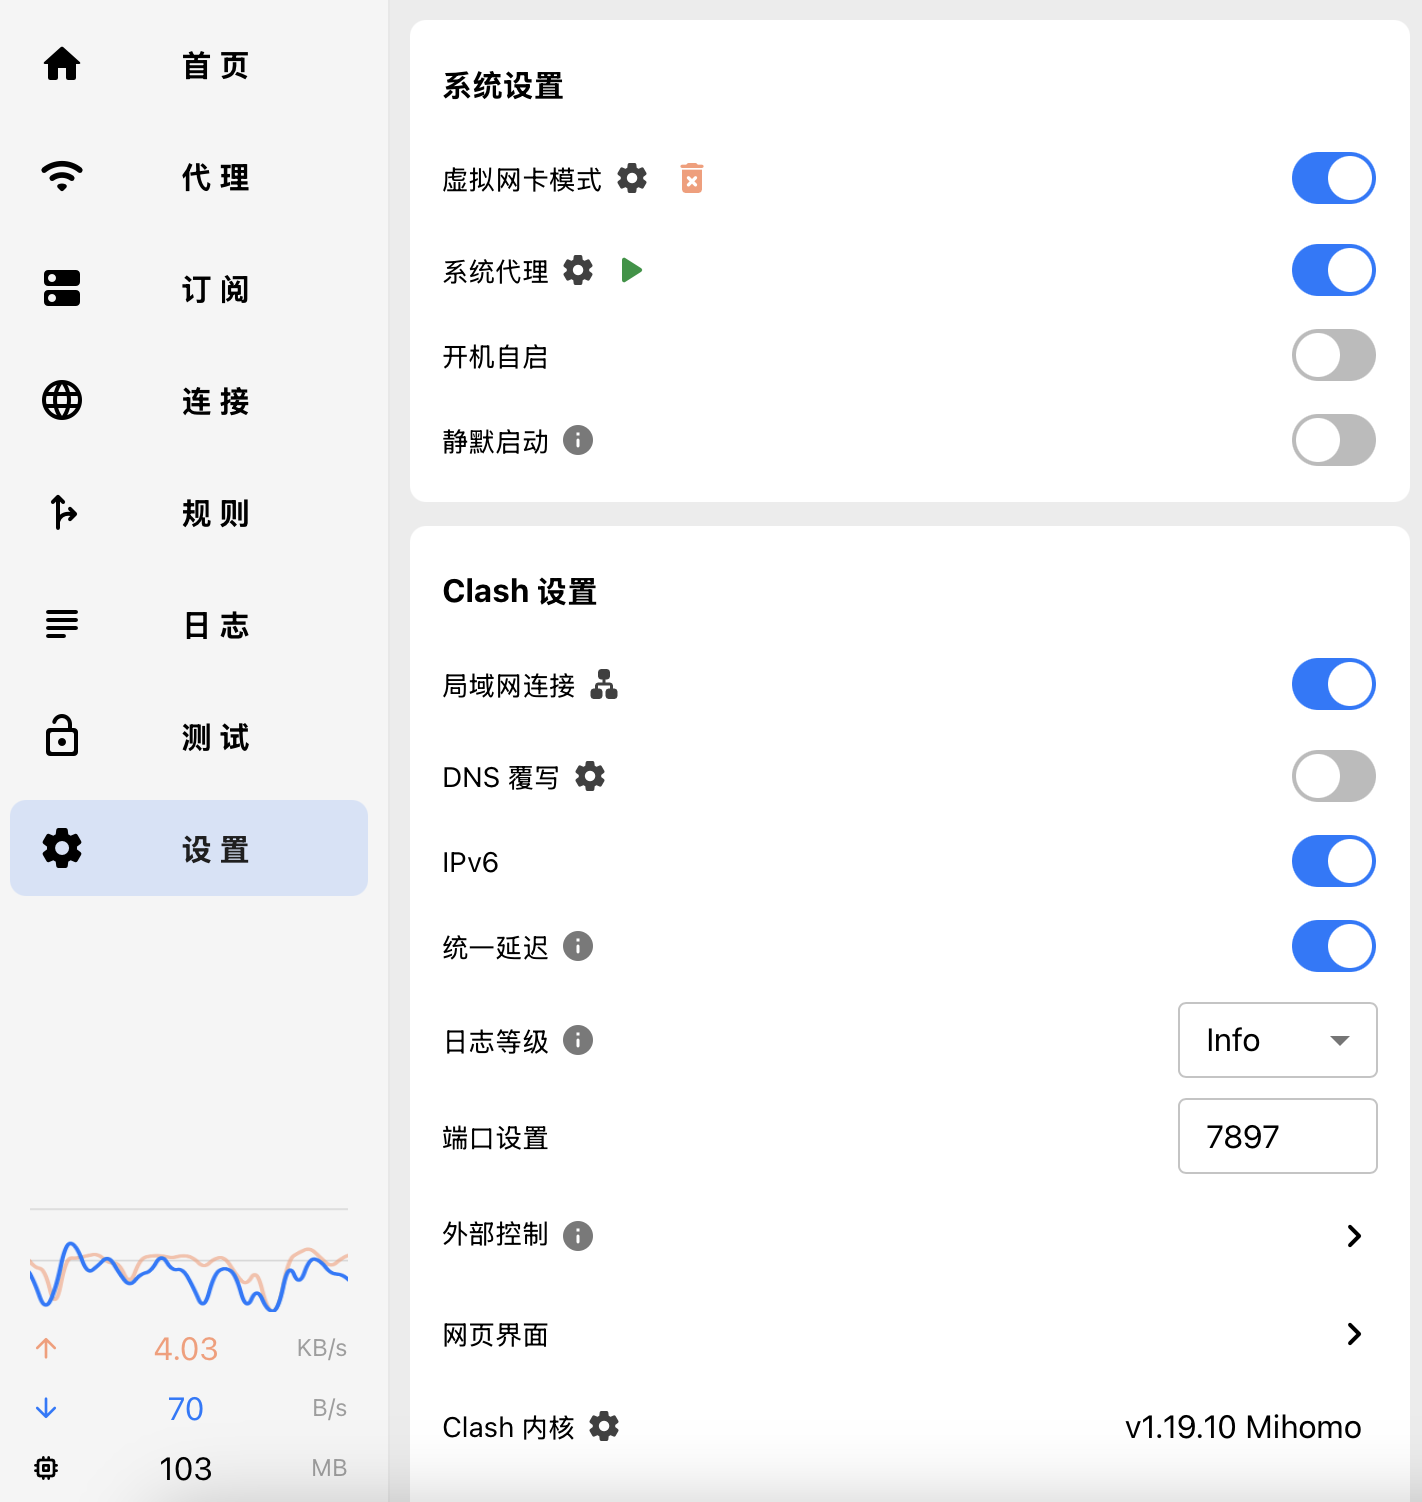
这里的关键点是
不要只开 System Proxy!!! 必须要 TUN!!!
让 Clash 能处理来自 Pixel 的转发流量!!!
因为 Pixel 的流量不是 Mac 本机 App 流量, 而是从 macOS Internet Sharing 转发进来的
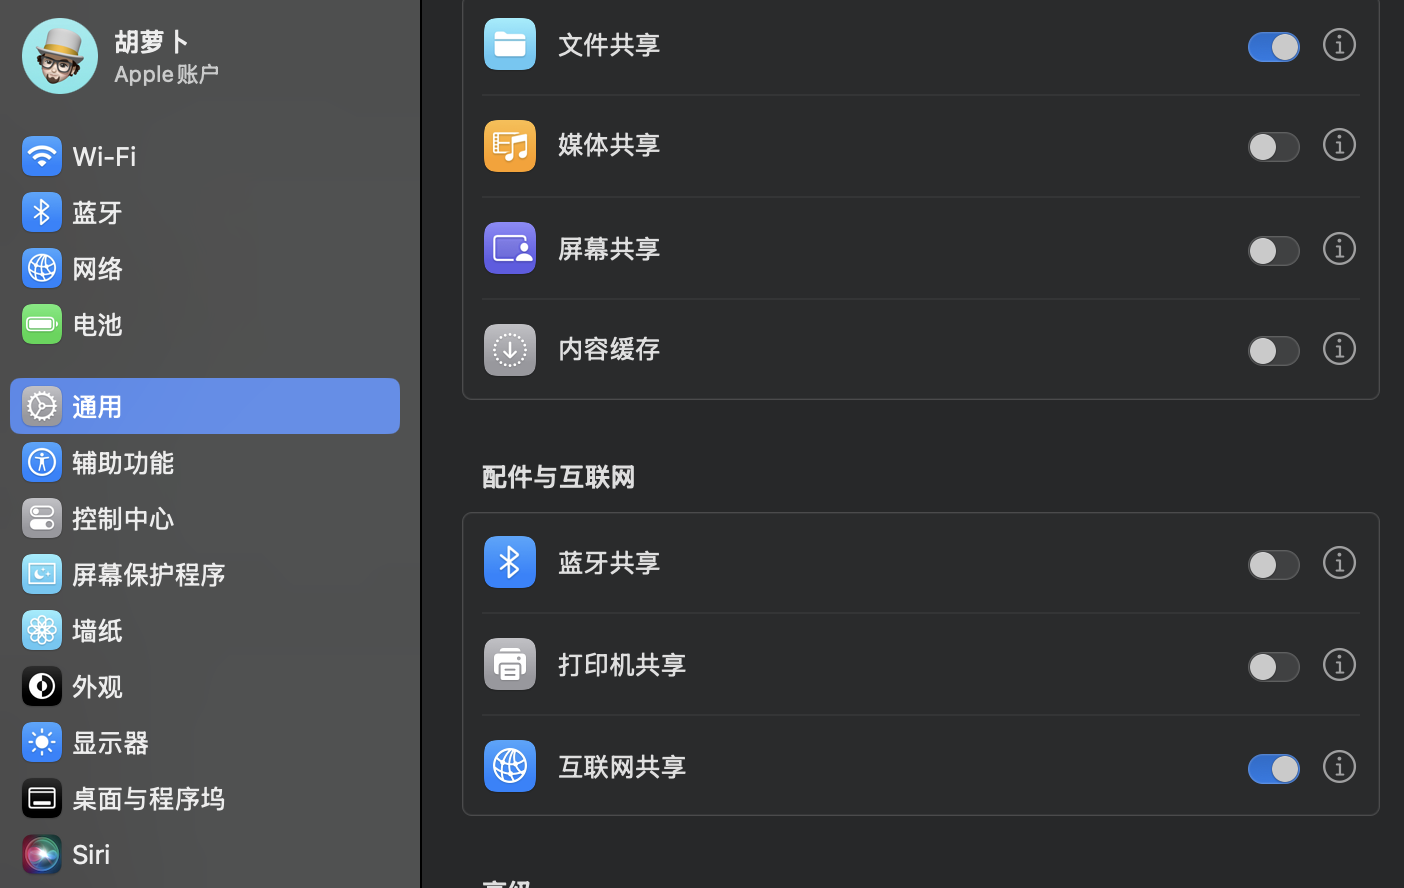
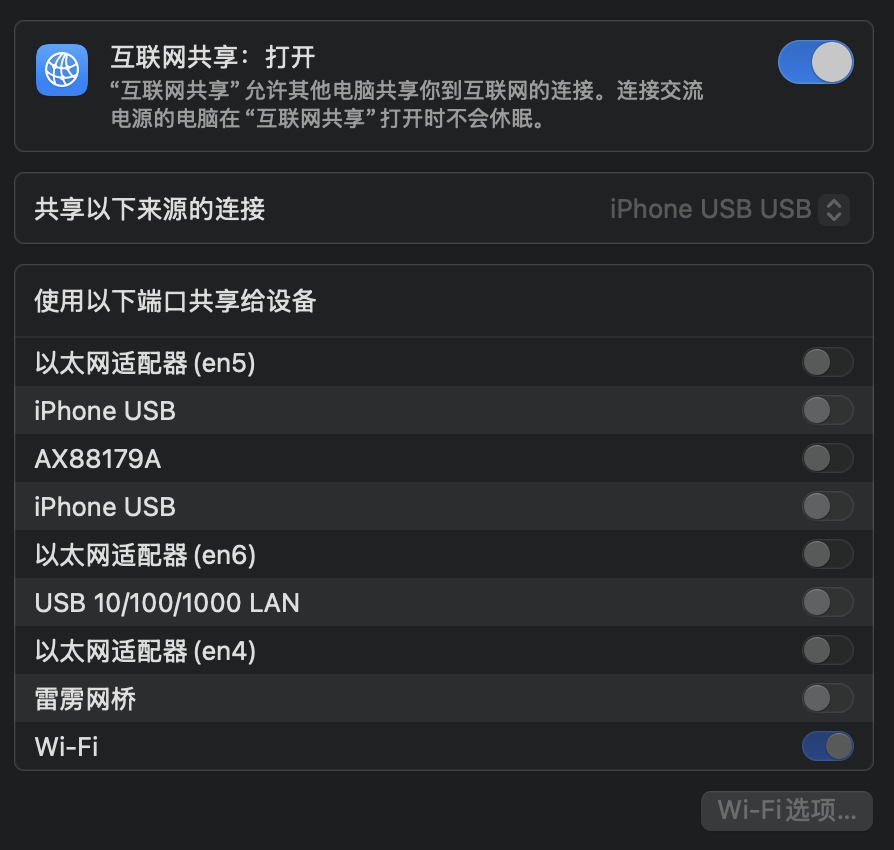
(4) 配置 MacOS Internet Sharing
设置 → 通用 → 共享 → 互联网共享
设置为:
- 共享以下来源的连接: iPhone USB
- 共享给使用以下端口的电脑: Wi-Fi
程序员视角
| Text Only | |
|---|---|
1 2 | |
点 Wi-Fi Options / Wi-Fi 选项, 建议设置成最保守配置:
| Bash | |
|---|---|
1 2 3 | |

现在看系统状态栏里的 wifi 内容:
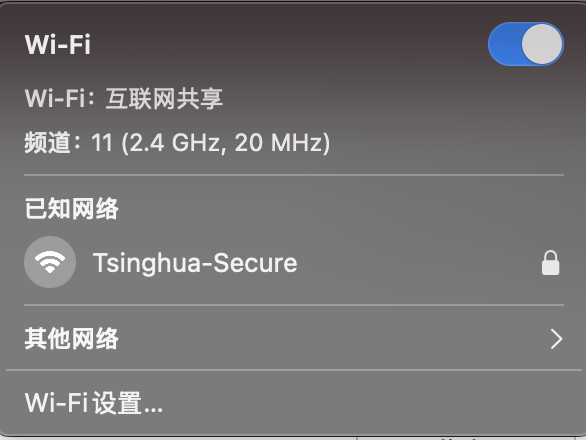
基本上就ok了! 🎉🎉🎉
(5) 其他验证
打开终端运行:
| Bash | |
|---|---|
1 | |
应该能看到类似这样的:
| Bash | |
|---|---|
1 2 3 4 5 6 7 8 9 10 11 12 13 14 15 16 17 18 | |
这样就没问题, 其中:
| Bash | |
|---|---|
1 2 3 | |
再运行:
| Bash | |
|---|---|
1 | |
成功时看到:
| Bash | |
|---|---|
1 2 3 4 5 6 7 | |
只要 active 即可.
注意: en0 inactive 不一定是问题
| Bash | |
|---|---|
1 | |
可能会发现, 输出:
| Bash | |
|---|---|
1 | |
一开始笔者以为这是问题,但后面确认没关系:
在 macOS 当前模式下,热点是通过虚拟 AP 接口 ap1 挂到 bridge100 上的,不一定直接表现为 en0 active
所以最终判断不要只看 en0! 而要看:
- bridge100 是否有
192.168.2.1 - bridge100 是否 member:
ap1 - ap1 是否
active - 外部设备是否能看到
pixeltest
现在就正式完结撒花了! 🚀
我们这就来转战 pixel 😍
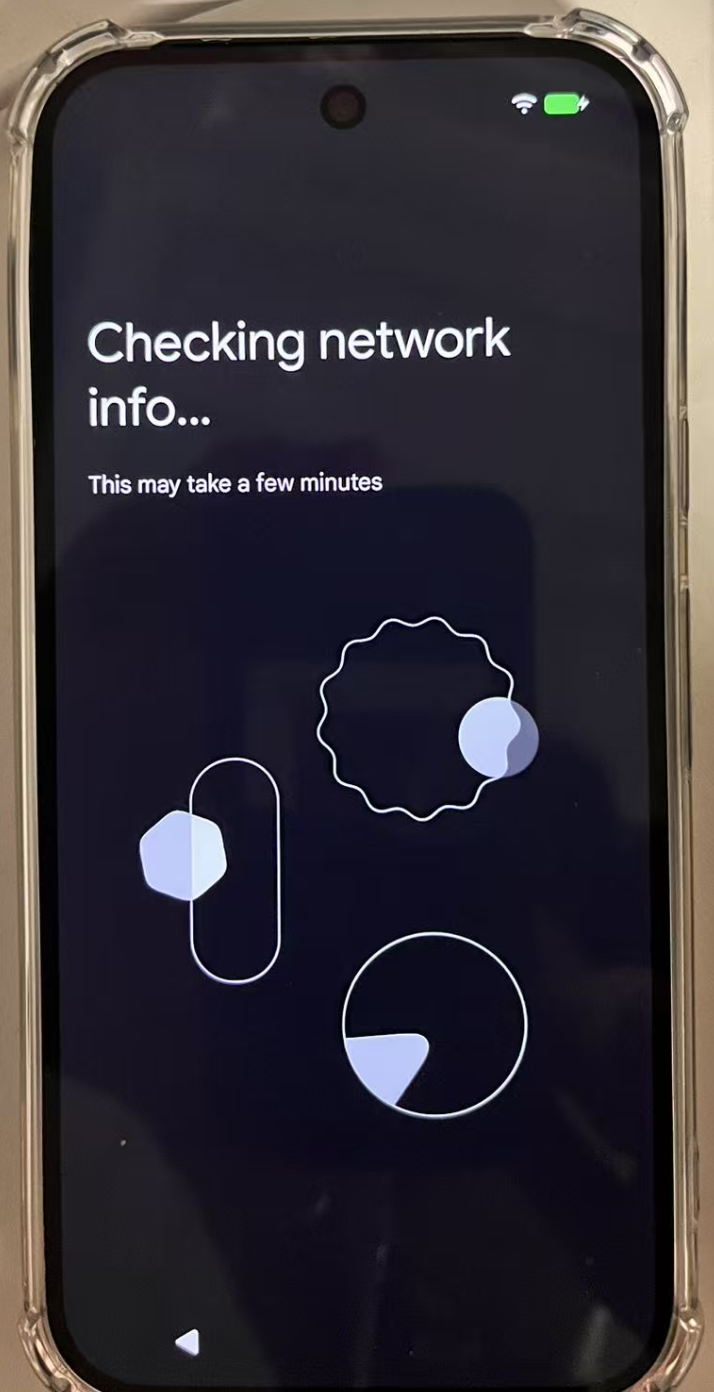
Step 2: Pixel 首次开机该咋做
这一部分忘记逐步截图了...
NOTE: 在后面reboot之后补了, 可参考: Step 11
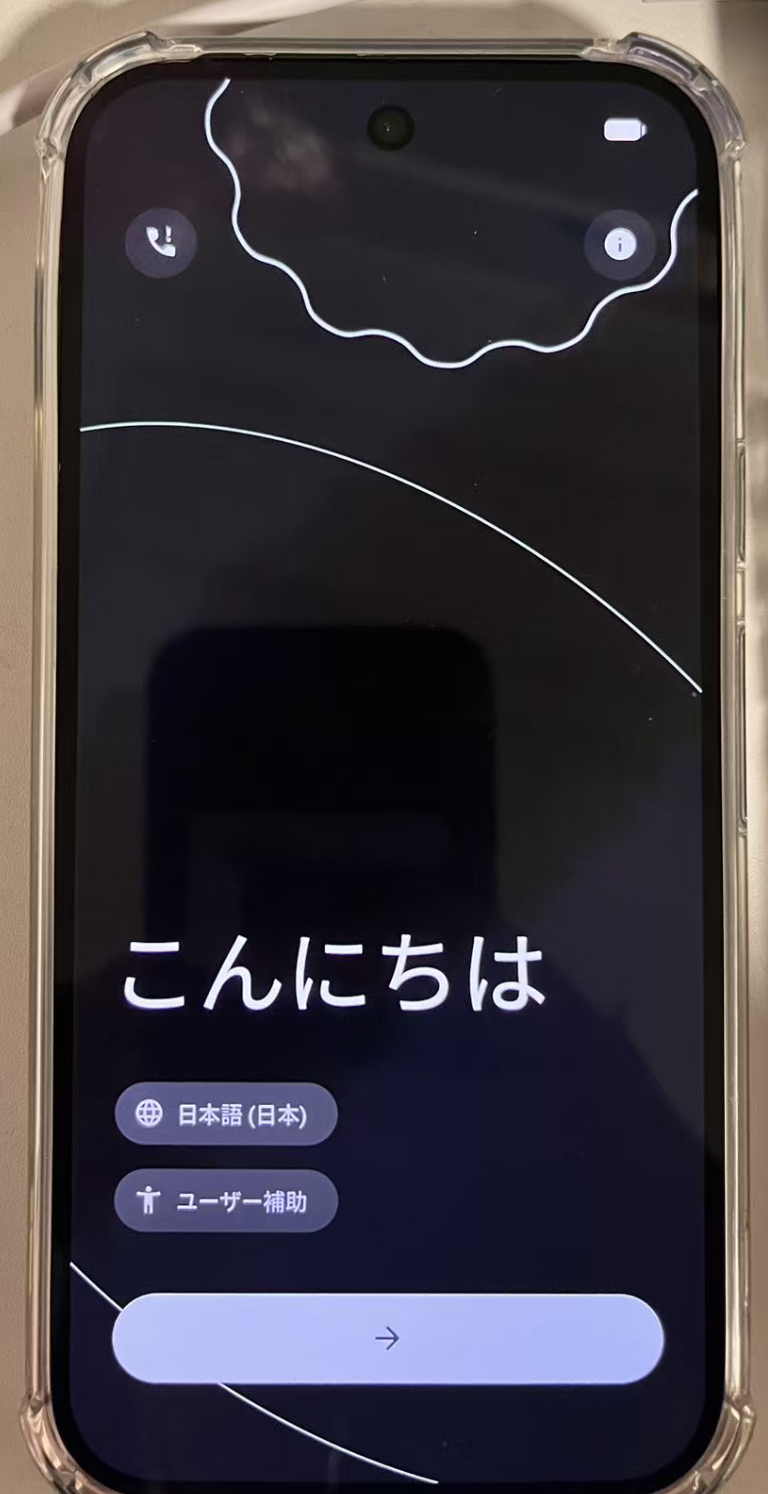
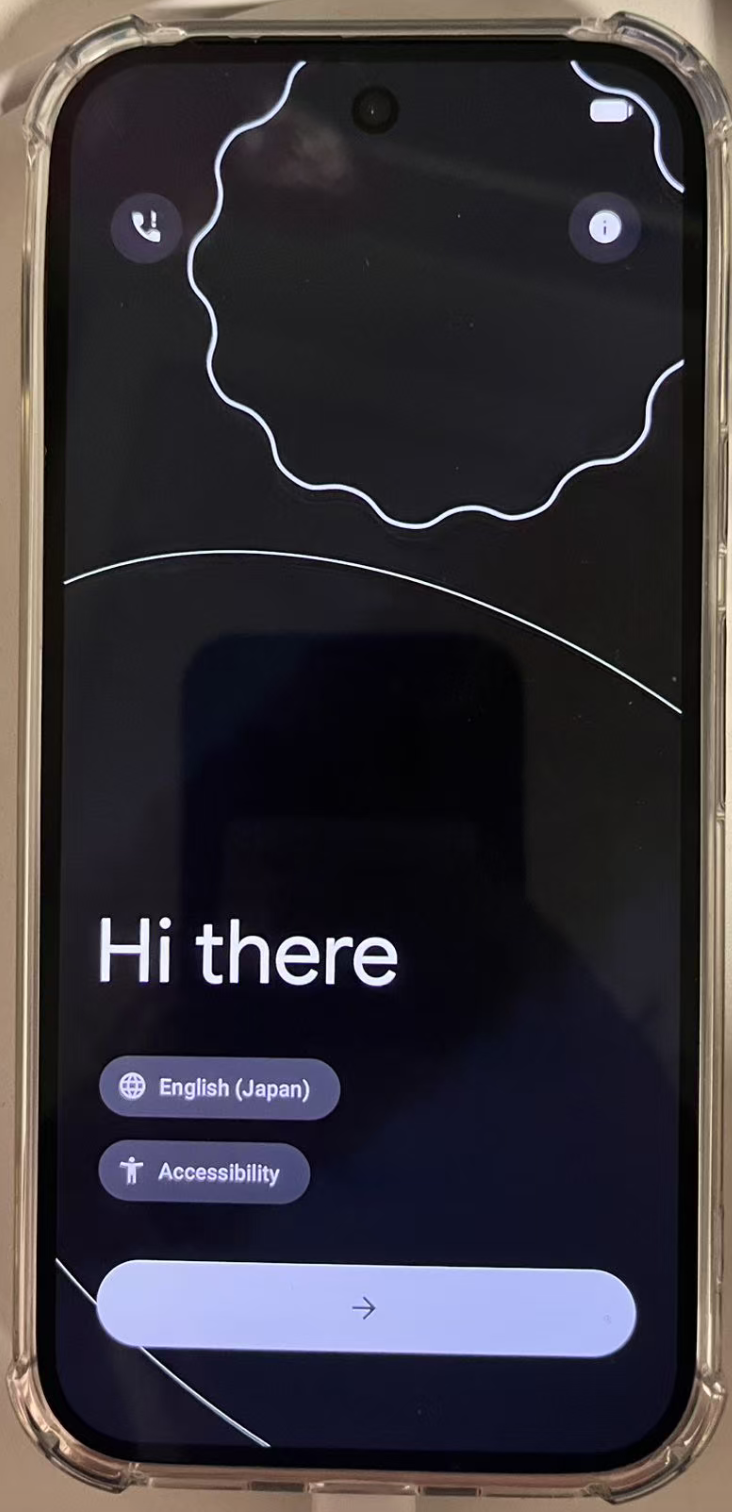
(1) Step 1: 语言选择英文
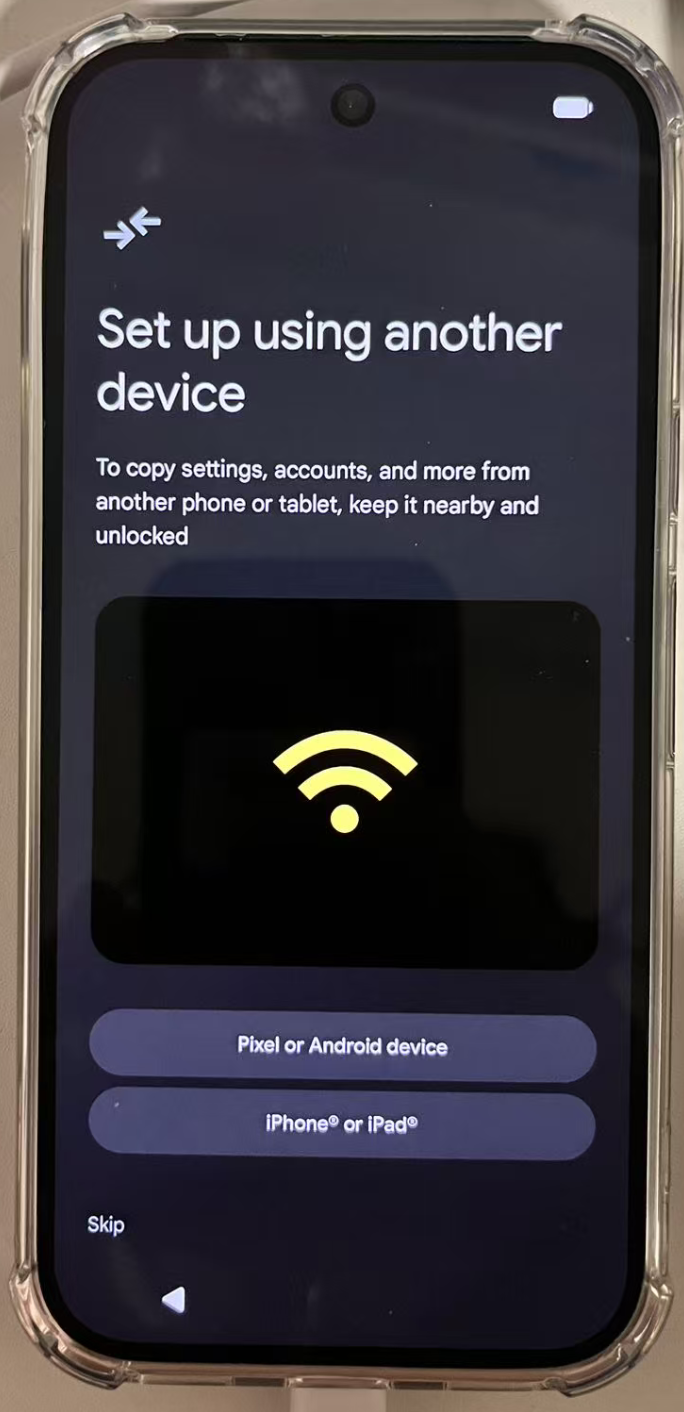
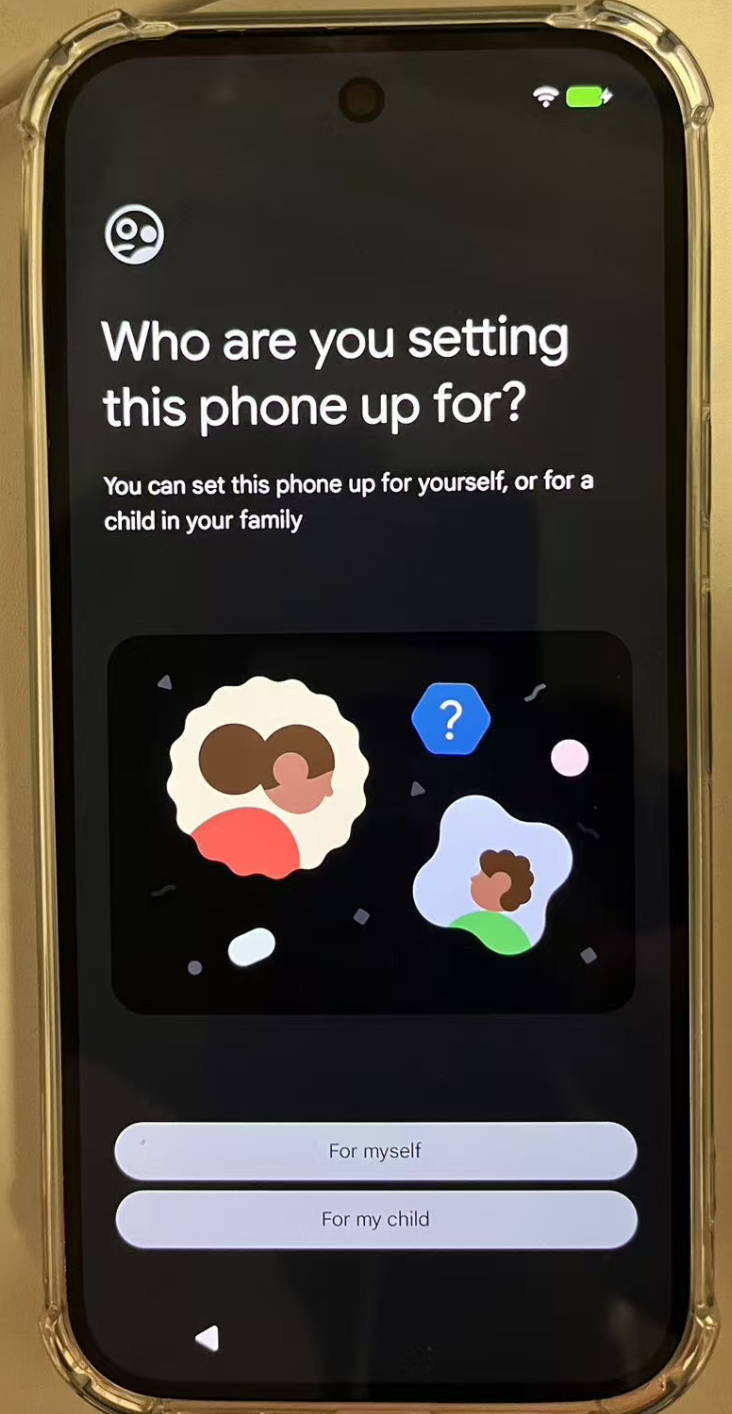
(2) 后面的所有步骤, 能 skip 的都 skip
除了wifi, 其他全部skip!!!
- 指纹/人脸: skip
- Google Services: skip
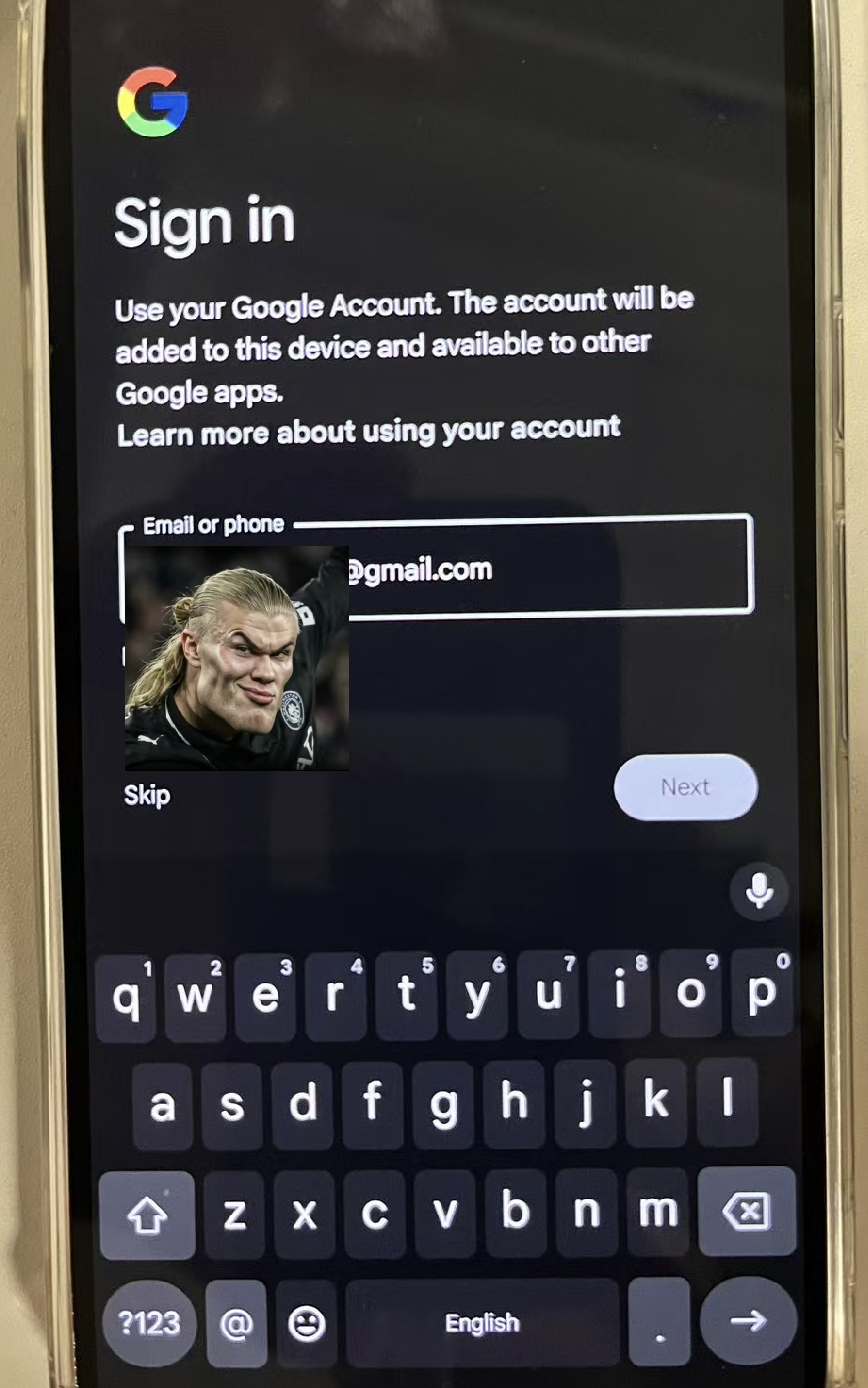
- Gmail 登陆: skip
- 设置 PIN: 搞个简单的,
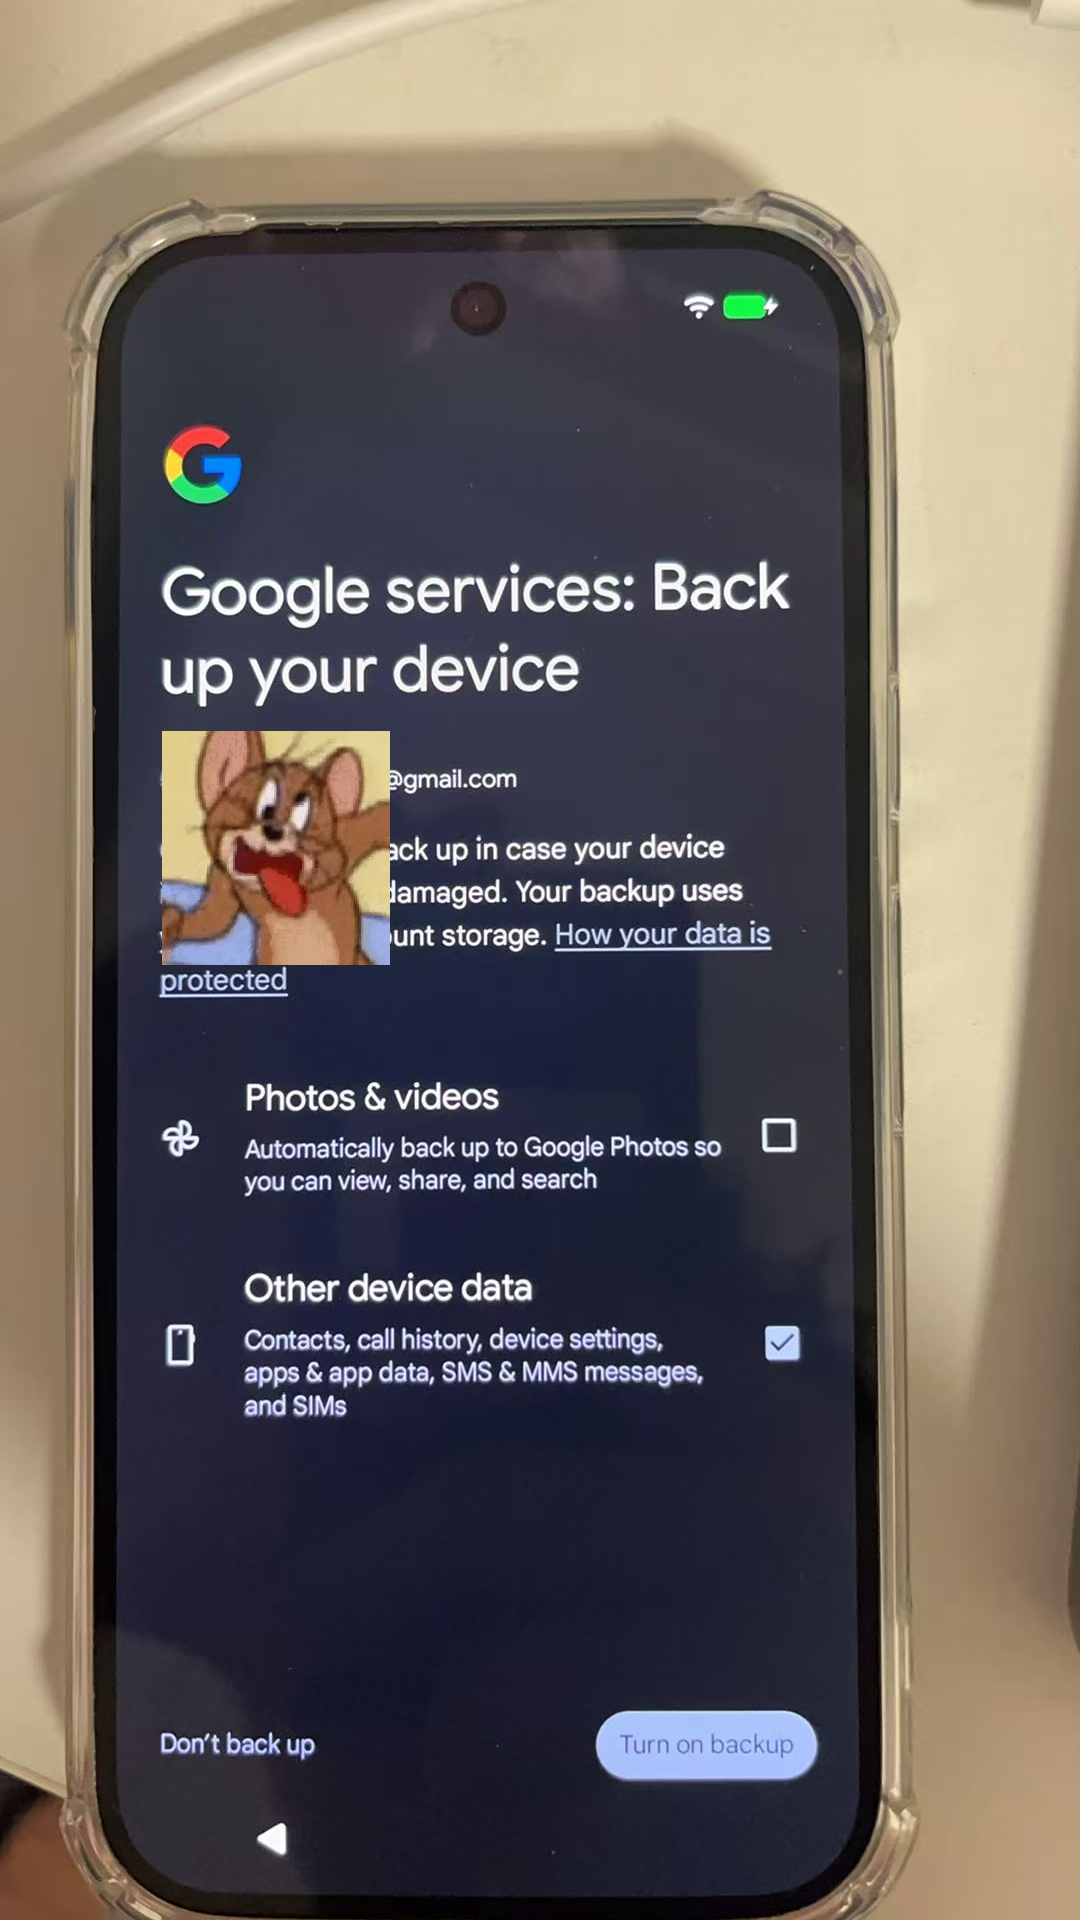
123456 - Assistant / Gemini / Wallet / Backup ...
- 全部跳过
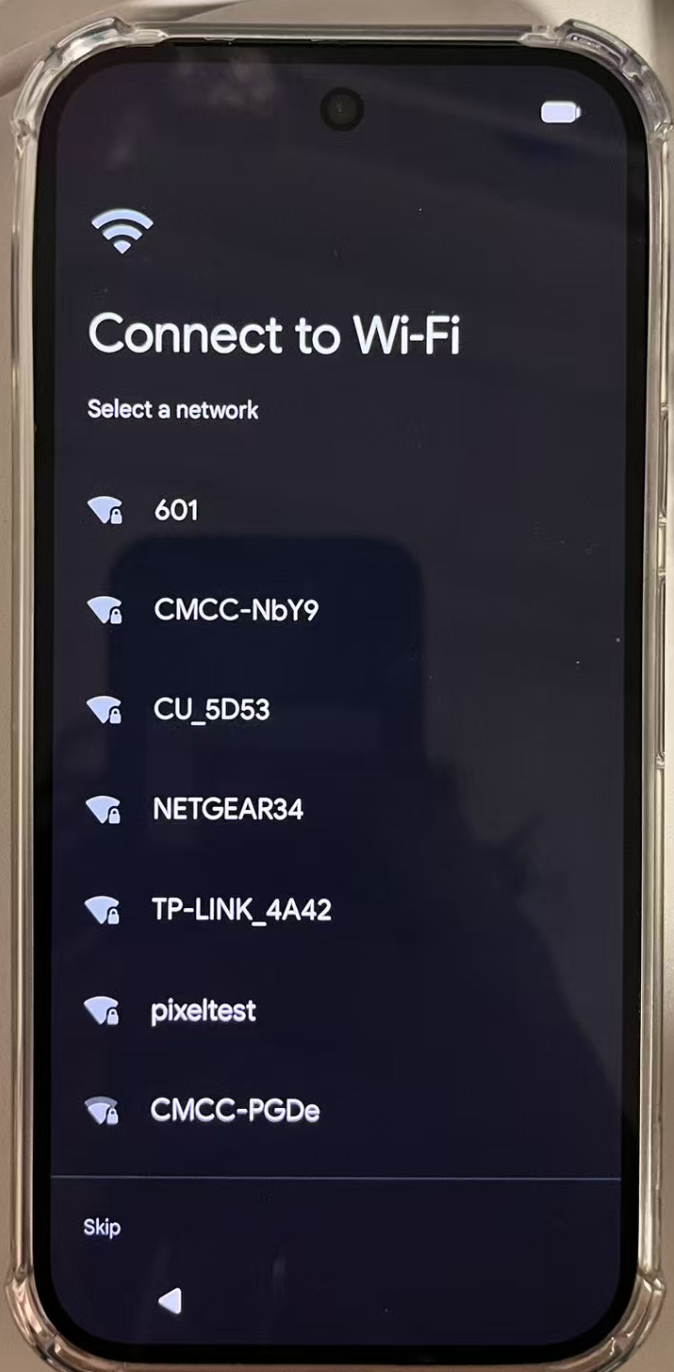
(3) 只有 Wi-Fi 这一步要稍微注意一下 [应该是在从前往后第二步]
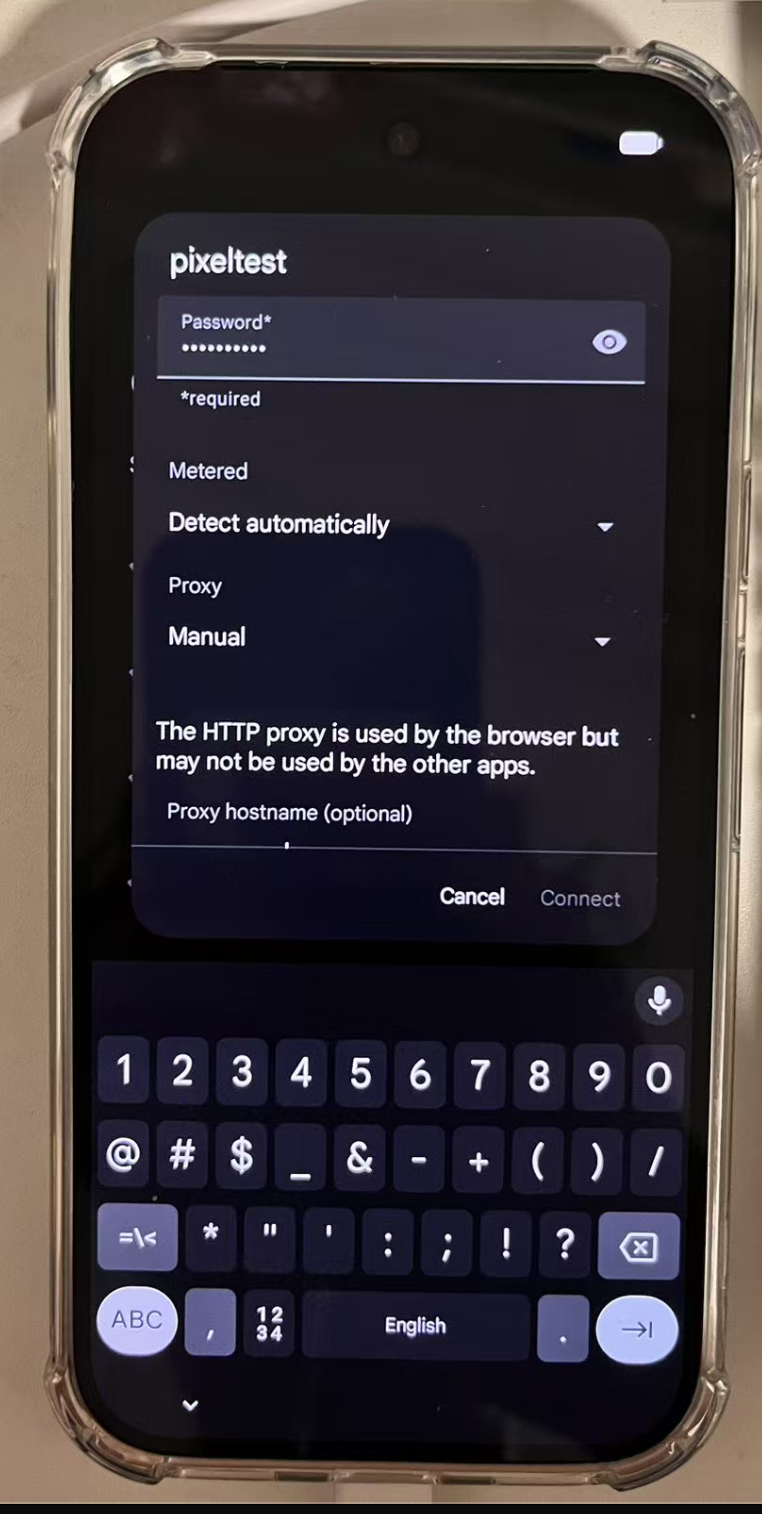
点击选择 pixeltest, 进入认证界面
- 输入密码
- 点击
Advanced options / 高级选项- Proxy: Manual / 手动
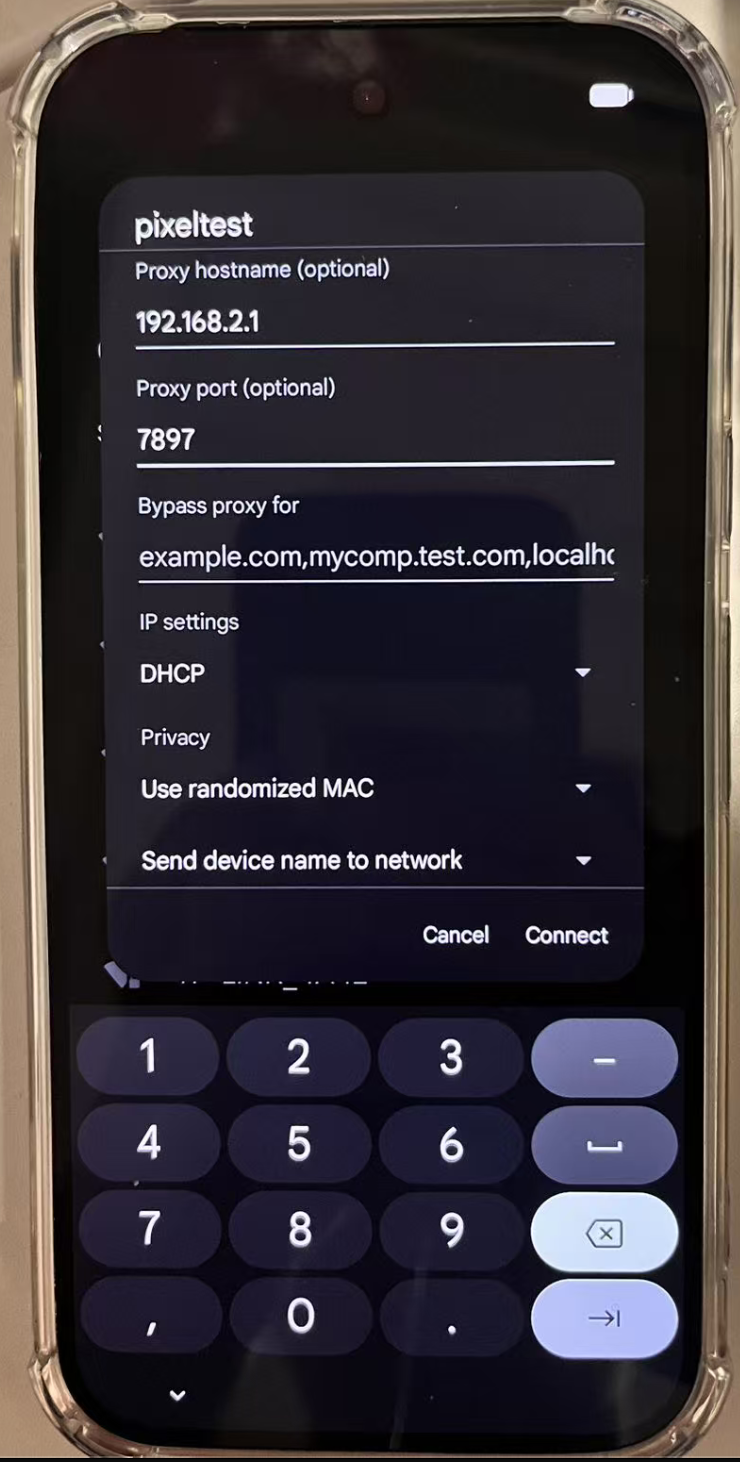
- Proxy hostname: 192.168.2.1
- Proxy port: Clash 的 mixed/http 端口, 例如笔者的就是 7897
- IP settings: DHCP
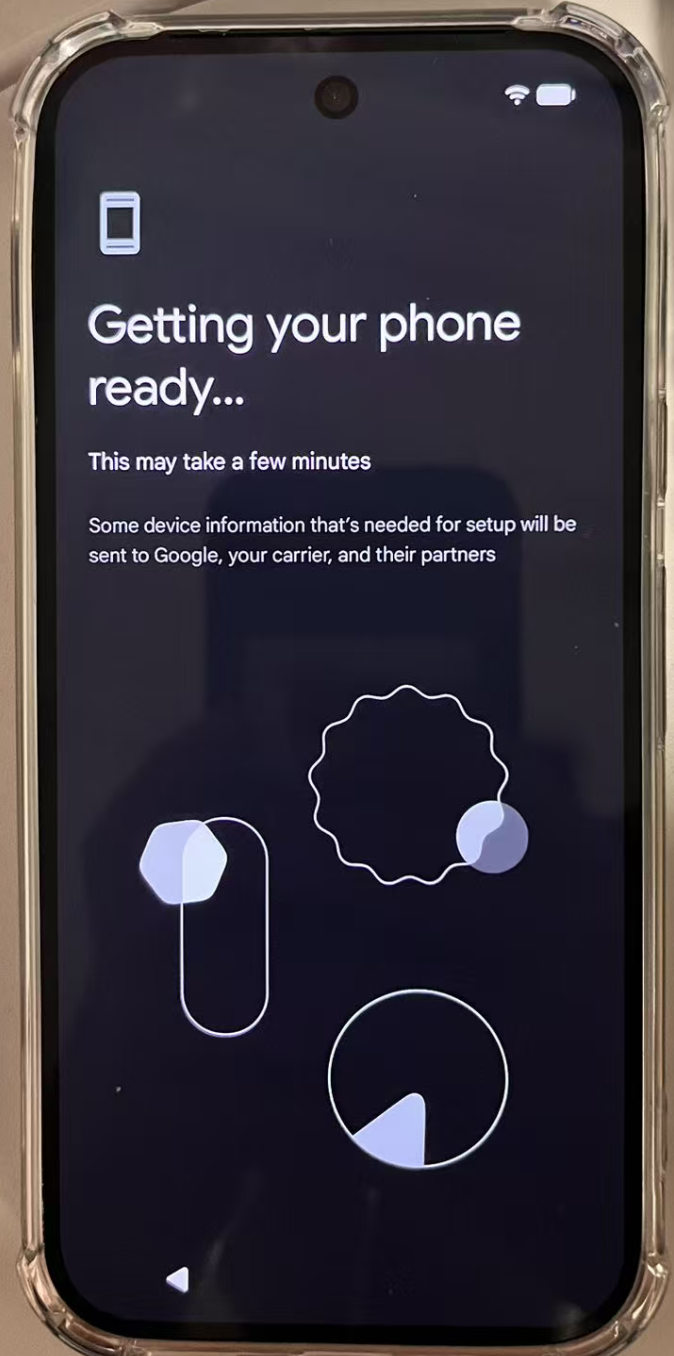
然后就可以了! 进入主页面 🎉
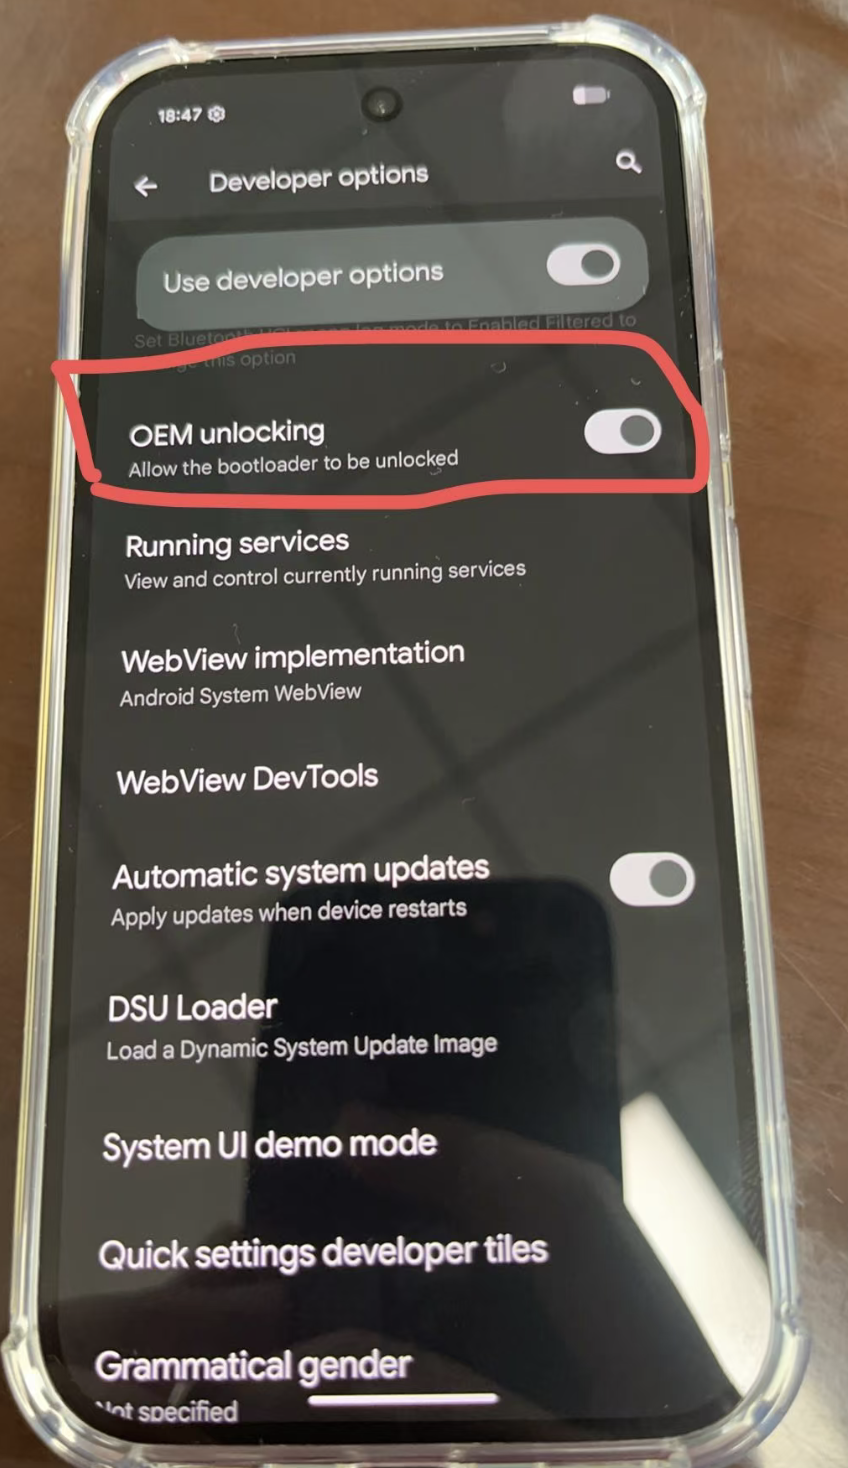
Step 3: 确认 OEM unlocking
(1) 开启 Developer Options
进入 Settings > About phone
- Build number 连点 7 次
- 输入 PIN
然后进入 Settings > System > Developer options.
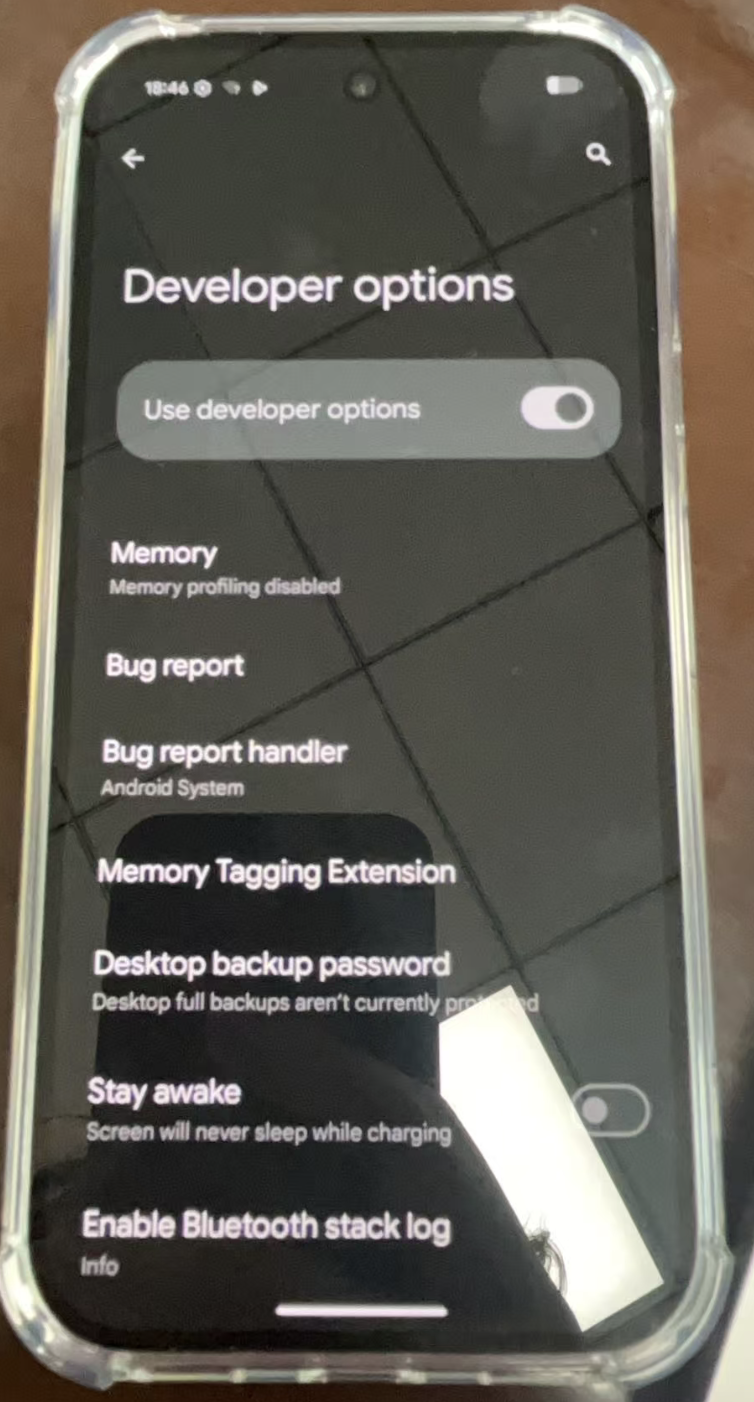
(2) 打开 OEM unlocking
找到 OEM unlocking 并打开
如果能打开, 说明这台机器可以 root. 这也是我们的核心诉求, 必须行!
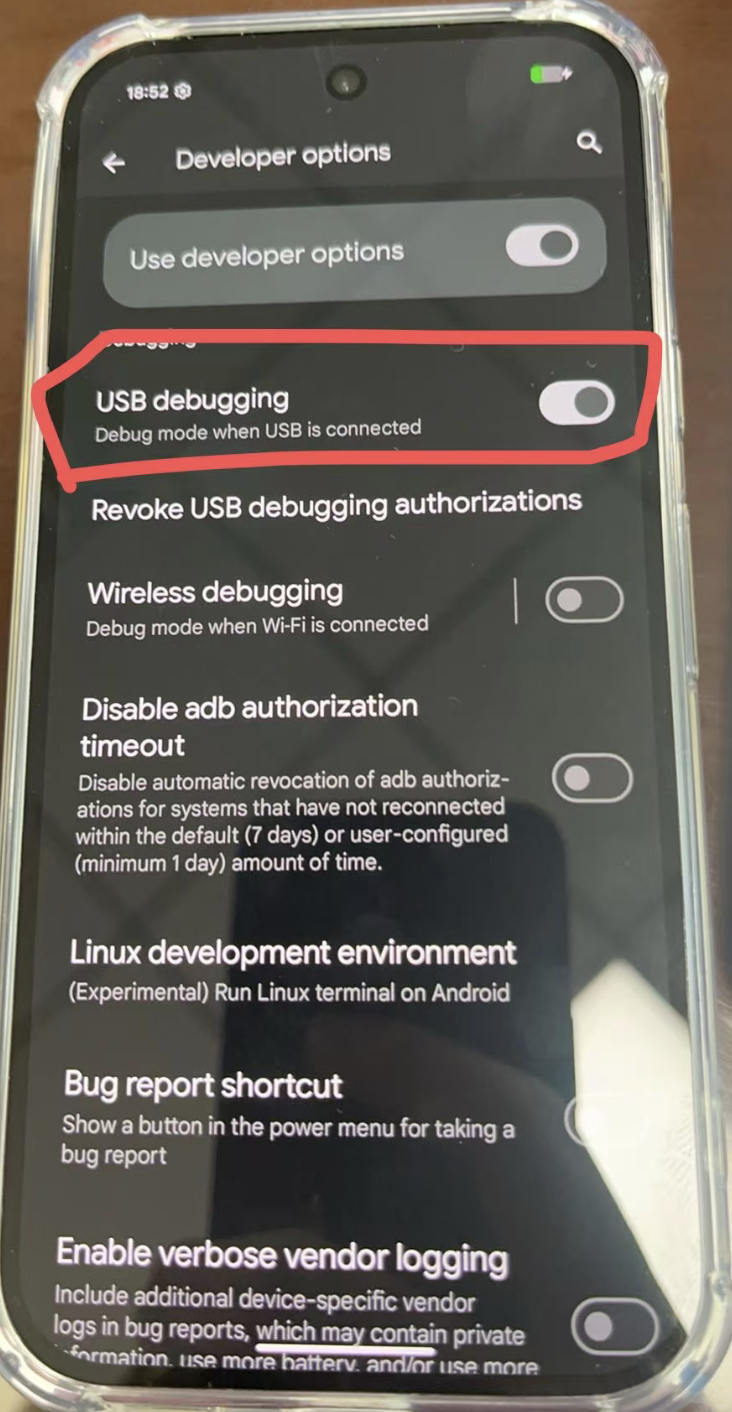
Step 4: 打开 USB debugging
(1) USB 线连接 pixel 和 mac
(2) 进入 Settings > System > Developer options.
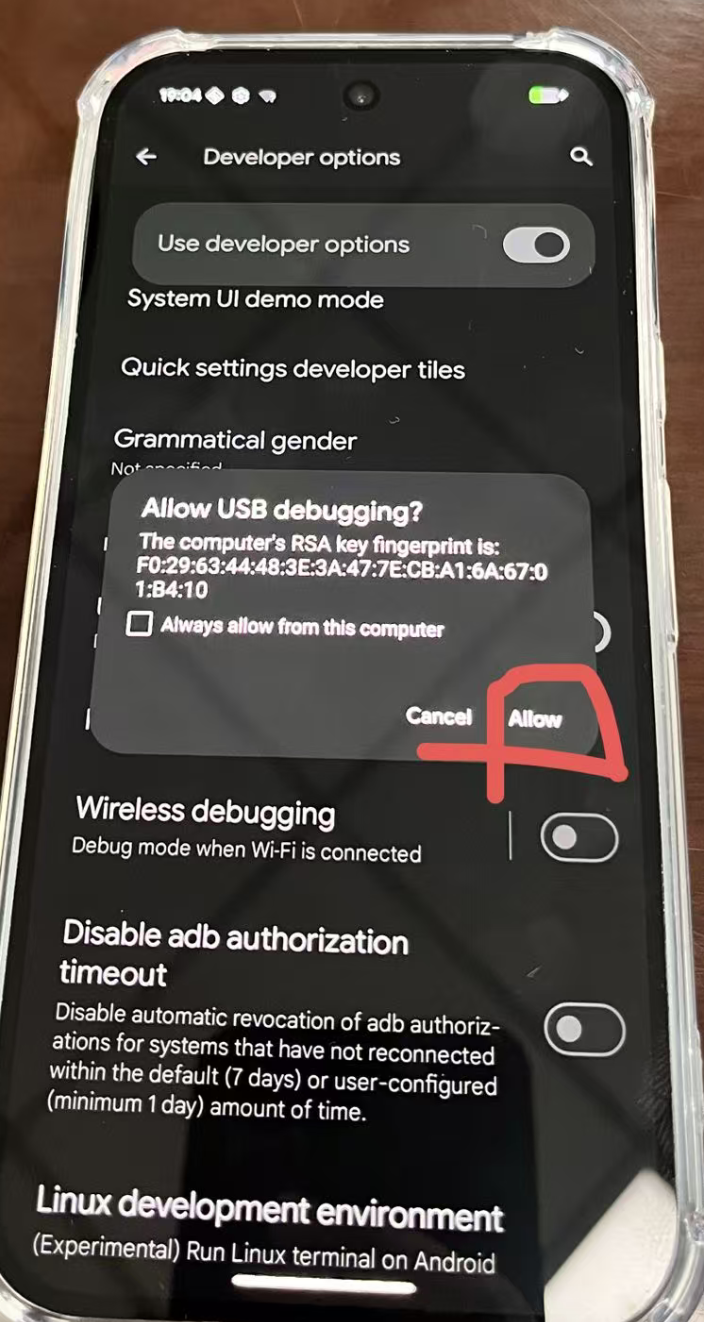
打开 USB debugging.
手机弹窗点 Allow 就行.
电脑端检验一下:
| Bash | |
|---|---|
1 2 3 4 5 6 7 8 9 | |
记录当前 Build number:
查看: Settings > About phone > Build number
比如我的是: BD1A.250702.001
Step 5: 准备工作: 下载镜像
(1) 来到官网, 准备OTA Images
电脑浏览器来到 Google Full OTA Images 页面
Pixel 10中, 找到 Build number. 下载对应 full OTA zip
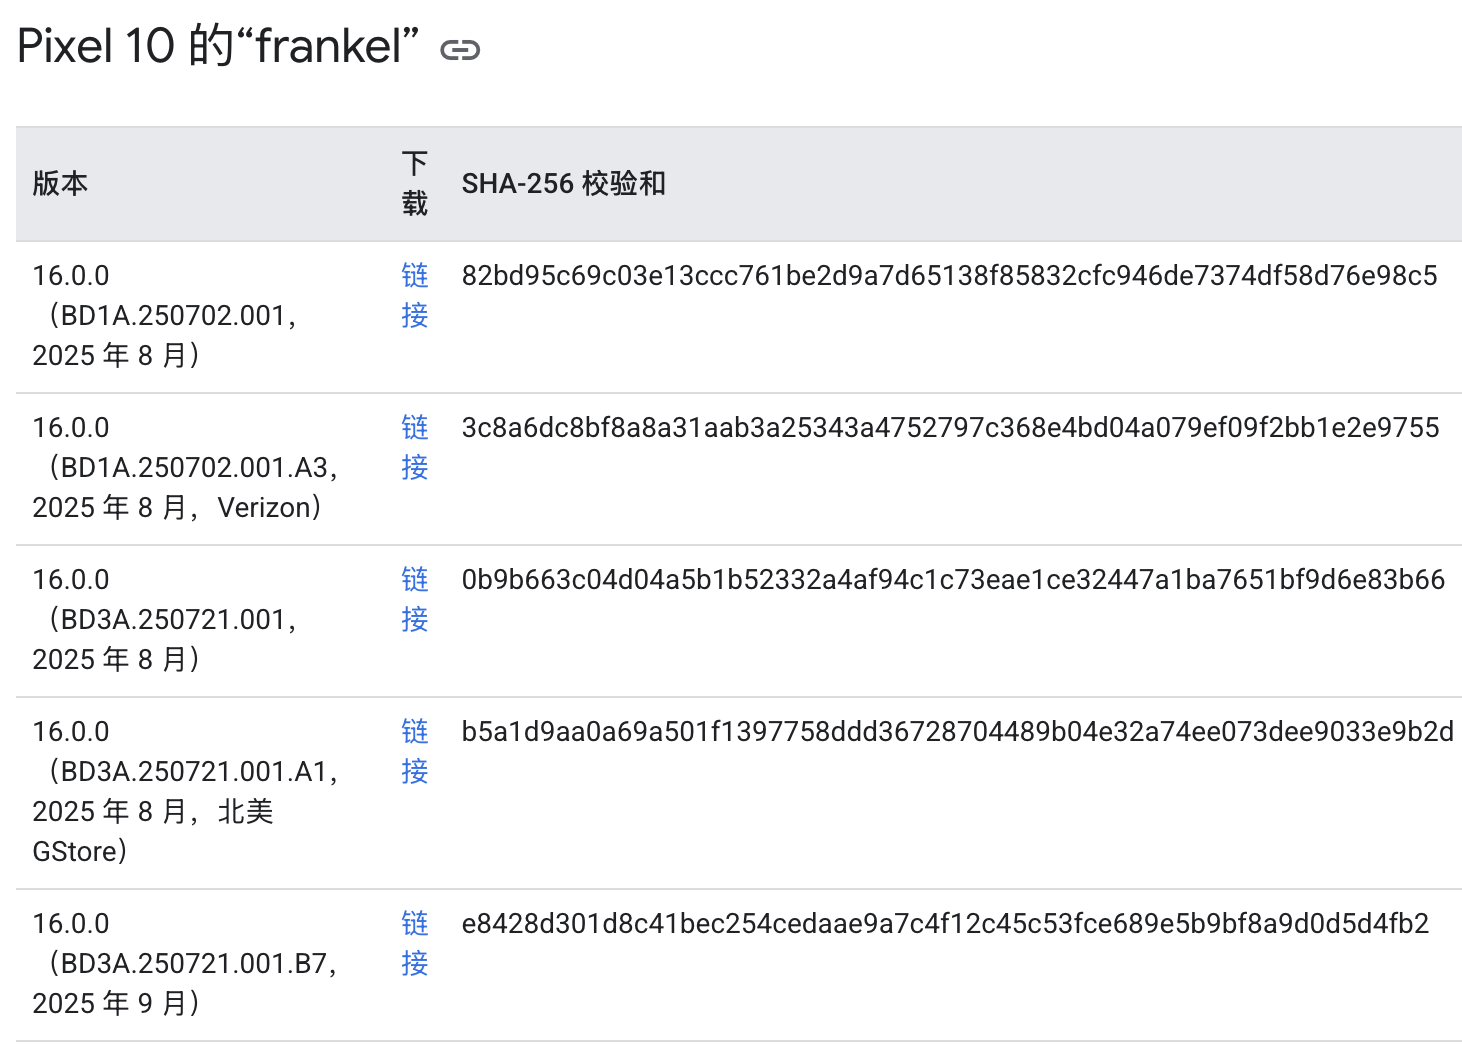
把它下载进 ~/Android/pixel10-root/.
| Bash | |
|---|---|
1 2 3 4 5 6 | |
(2) 来到官网, 准备Factory Images
同上选择, 下载对应 full Factory zip
下载进 ~/Android/pixel10-root/.
| Bash | |
|---|---|
1 2 3 4 5 6 7 | |
(3) 提取 init_boot.img
| Bash | |
|---|---|
1 2 3 4 | |
会解压30s左右:
| Bash | |
|---|---|
1 2 3 4 5 6 7 8 9 10 11 12 13 14 | |
检查内容:
| Bash | |
|---|---|
1 2 | |
看见:
| Bash | |
|---|---|
1 2 3 4 5 6 7 8 9 10 11 | |
这里的image-frankel-bd1a.250702.001.zip就是我们需要的镜像文件了😍
提取 init_boot.img:
| Bash | |
|---|---|
1 | |
然后复制到你的 root 工作目录顶层:
| Bash | |
|---|---|
1 | |
检查:
| Bash | |
|---|---|
1 2 3 4 5 | |
Step 6: 把 init_boot.img 传到 Pixel
(1) 检验连接情况:
| Bash | |
|---|---|
1 2 | |
理想情况输出是:
| Bash | |
|---|---|
1 2 3 | |
(2) 传递至手机:
| Bash | |
|---|---|
1 | |
确认手机里确实有这个文件:
| Bash | |
|---|---|
1 | |
理想输出:
| Bash | |
|---|---|
1 2 3 4 5 | |
Step 7: 手机上用 Magisk patch init_boot.img
(1) mac下载magisk, 传给手机
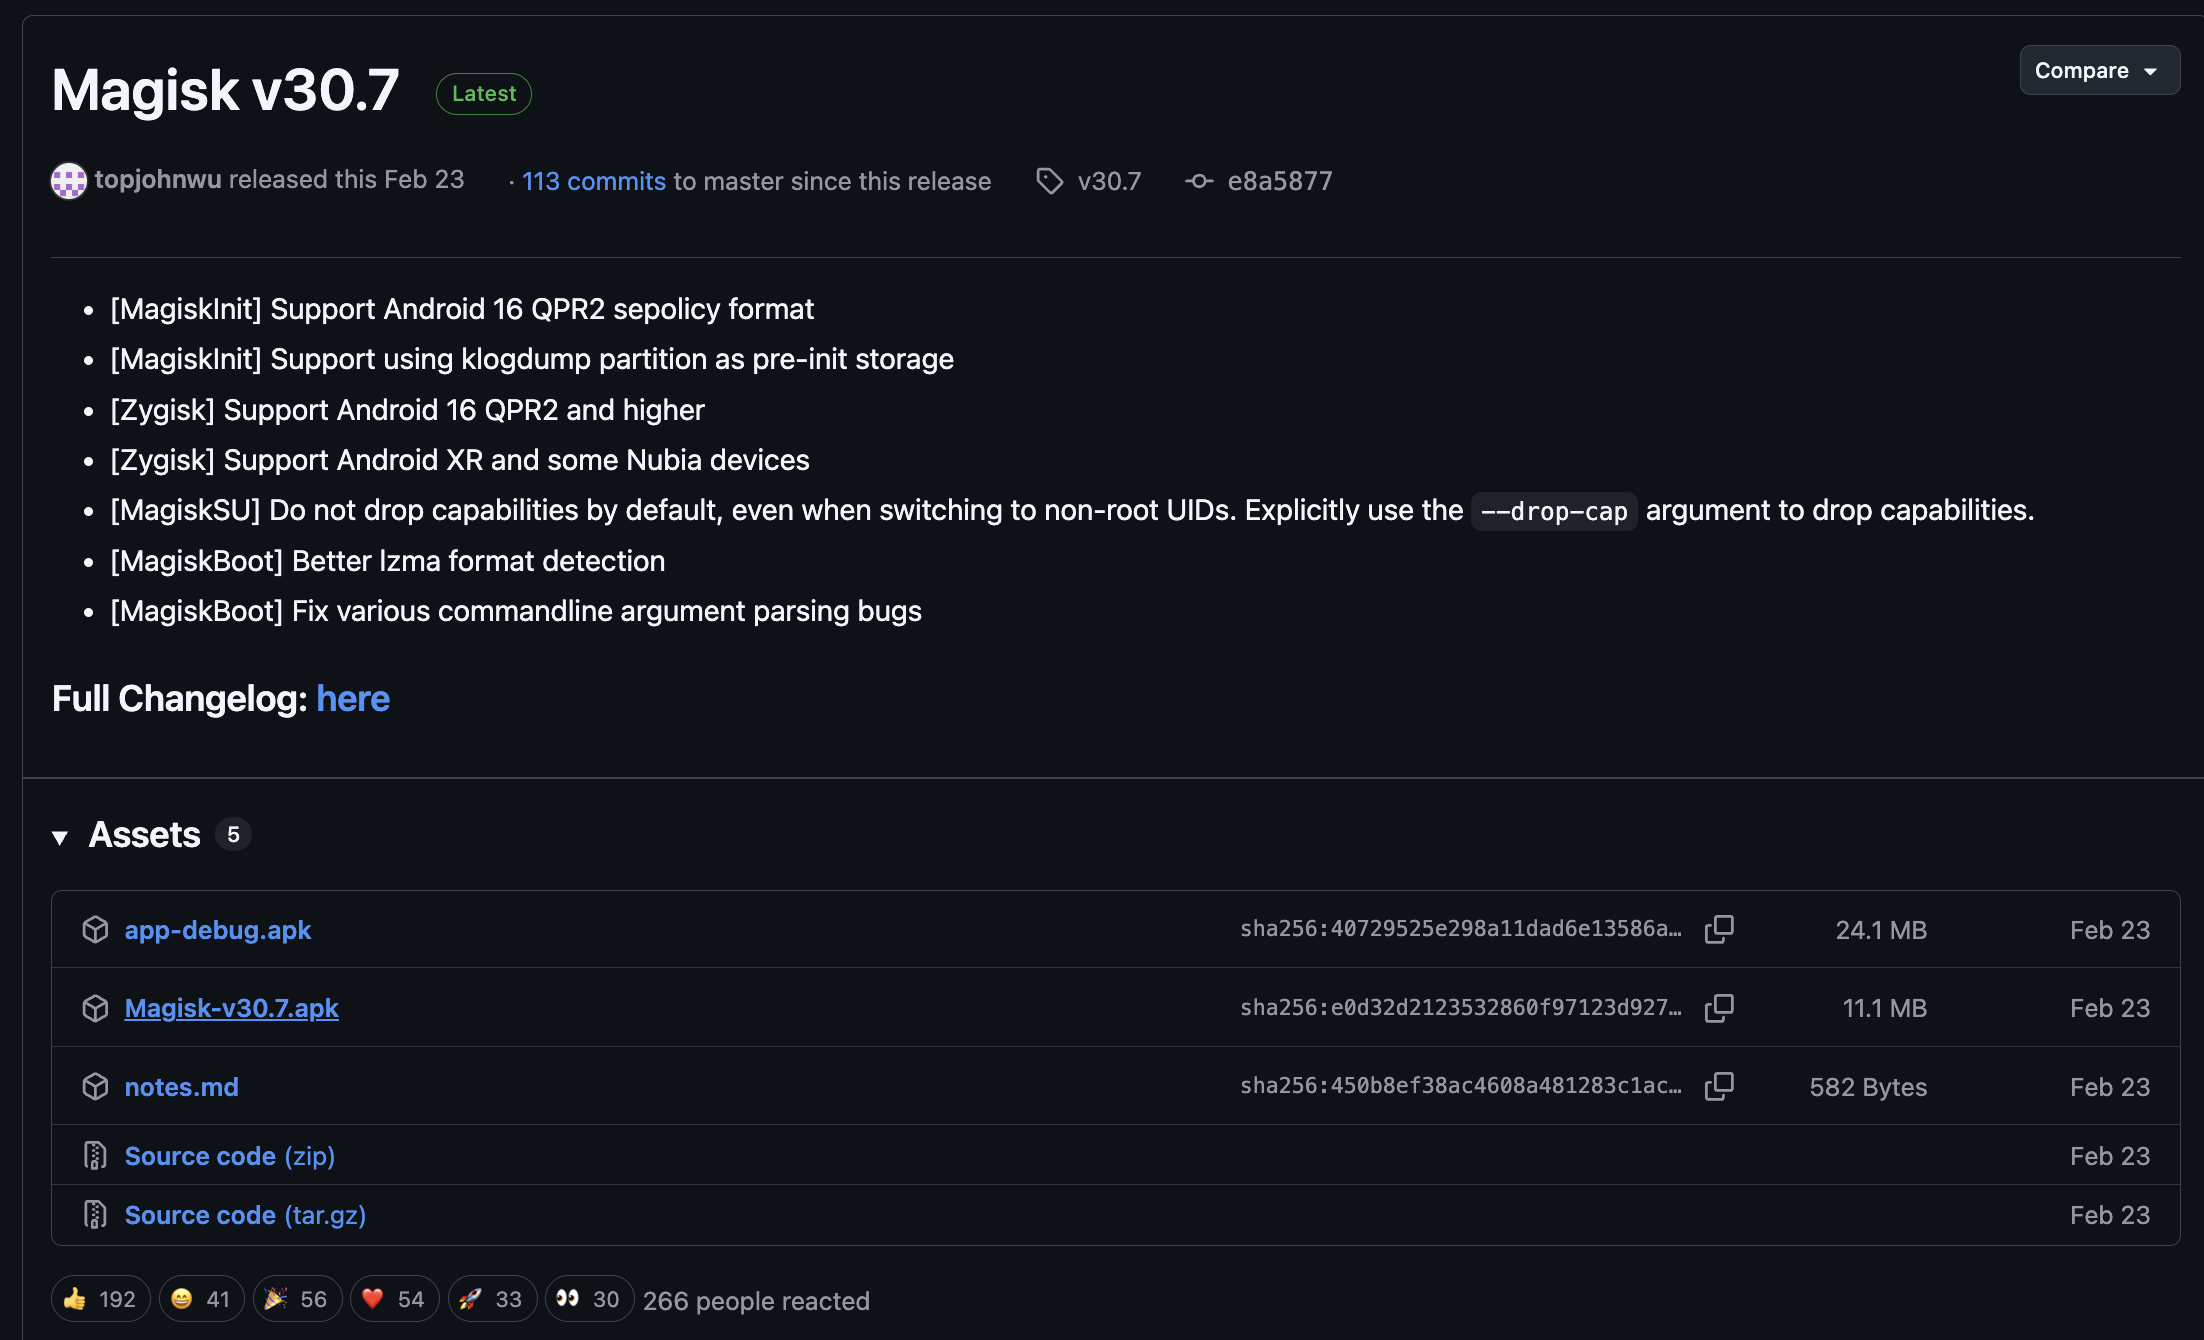
选择 Magisk-vxxx.apk, 比如笔者下载的就是 Magisk-v30.7.apk
笔者选择把它放进了 ~/android/pixel10-root
传给手机:
| Bash | |
|---|---|
1 | |
显示这样, 就成功了:
| Bash | |
|---|---|
1 2 3 | |
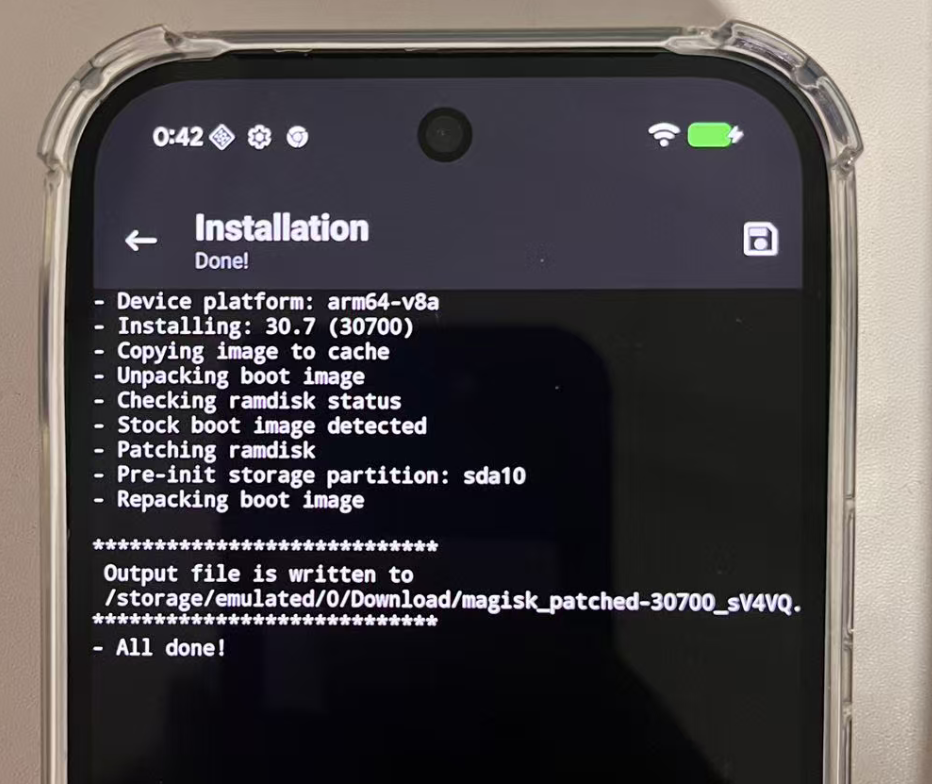
(2) 用 Magisk 来 patch init_boot.img
点击: Magisk > Install > Select and Patch a File
文件选择器打开后, 进入 Download, 选择 init_boot.img, 然后点击 "Let's Go"
安装完应该显示这样:
再次用电脑验证一下:
| Bash | |
|---|---|
1 2 3 4 | |
看见 magisk_patched-30700_sV4VQ.img, 大功告成! 🤩
(3) 回传电脑端, 给文件改名
| Bash | |
|---|---|
1 2 3 4 | |
正确情况, 输出类似:
| Bash | |
|---|---|
1 2 3 4 5 6 7 8 | |
Step 8: 进入 bootloader 并检查解锁状态
| Bash | |
|---|---|
1 2 | |
手机会进入 bootloader / fastboot 页面:
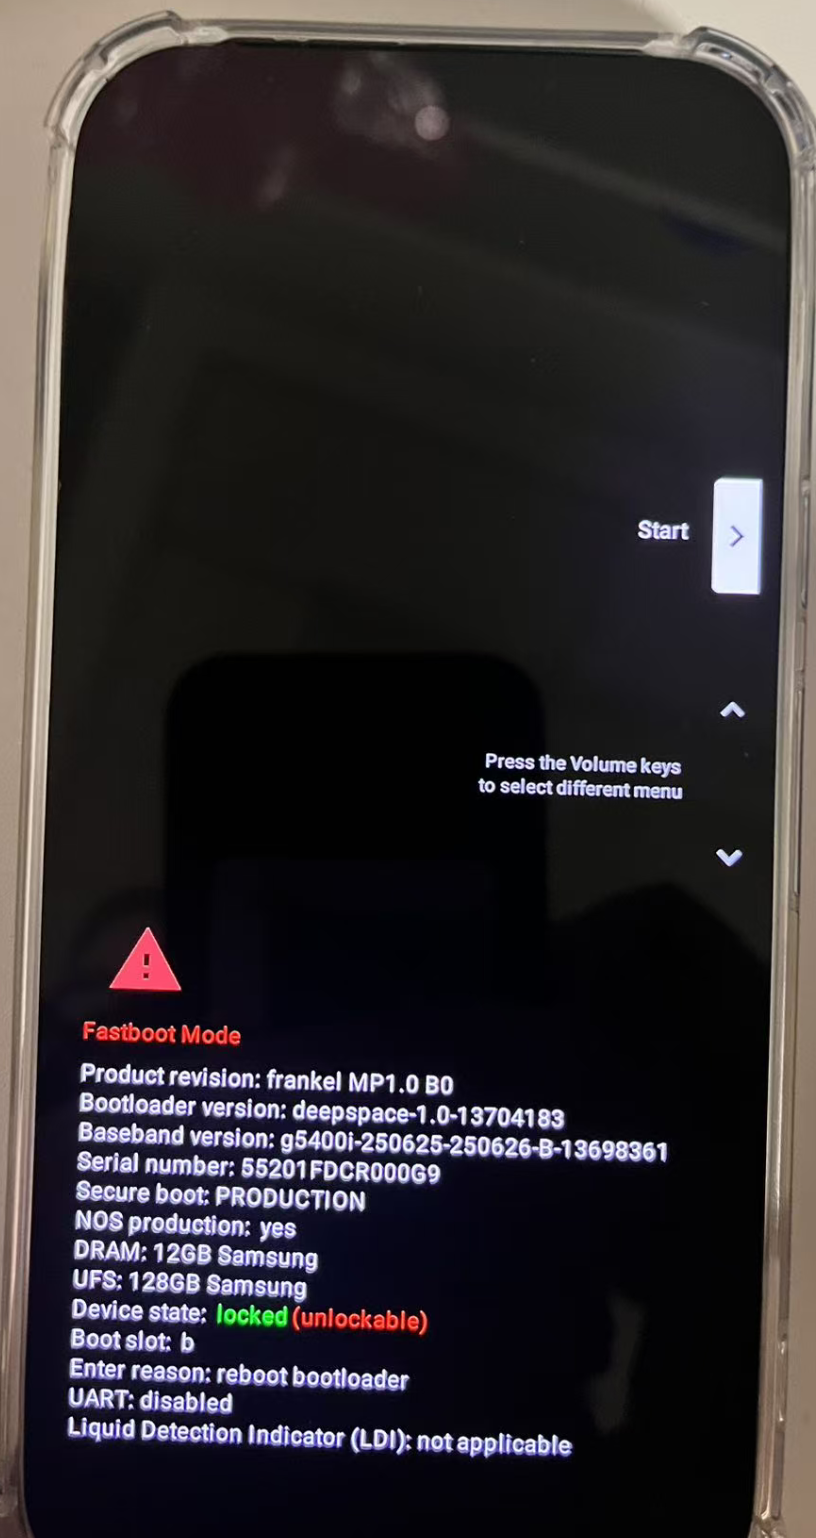
现在在电脑端进行"reboot"前置检查:
| Bash | |
|---|---|
1 2 3 4 5 6 7 8 9 10 11 | |
Step 9: 正式解锁 bootloader
(1) 解锁
| Bash | |
|---|---|
1 2 | |
手机会出现一个警告页面:

用 "音量键" 切换到: Unlock the bootloader
然后按 "Power 电源键" 确认
(2) 等待 wipe 完成
手机会清空数据。过程可能持续几十秒到几分钟。
完成后可能出现两种情况:
- 手机回到 bootloader 页面
- 这是最方便的情况
- Mac 上执行:
./platform-tools/fastboot getvar unlocked - 应该看到:
unlocked: yes - 现在显示 unlocked:
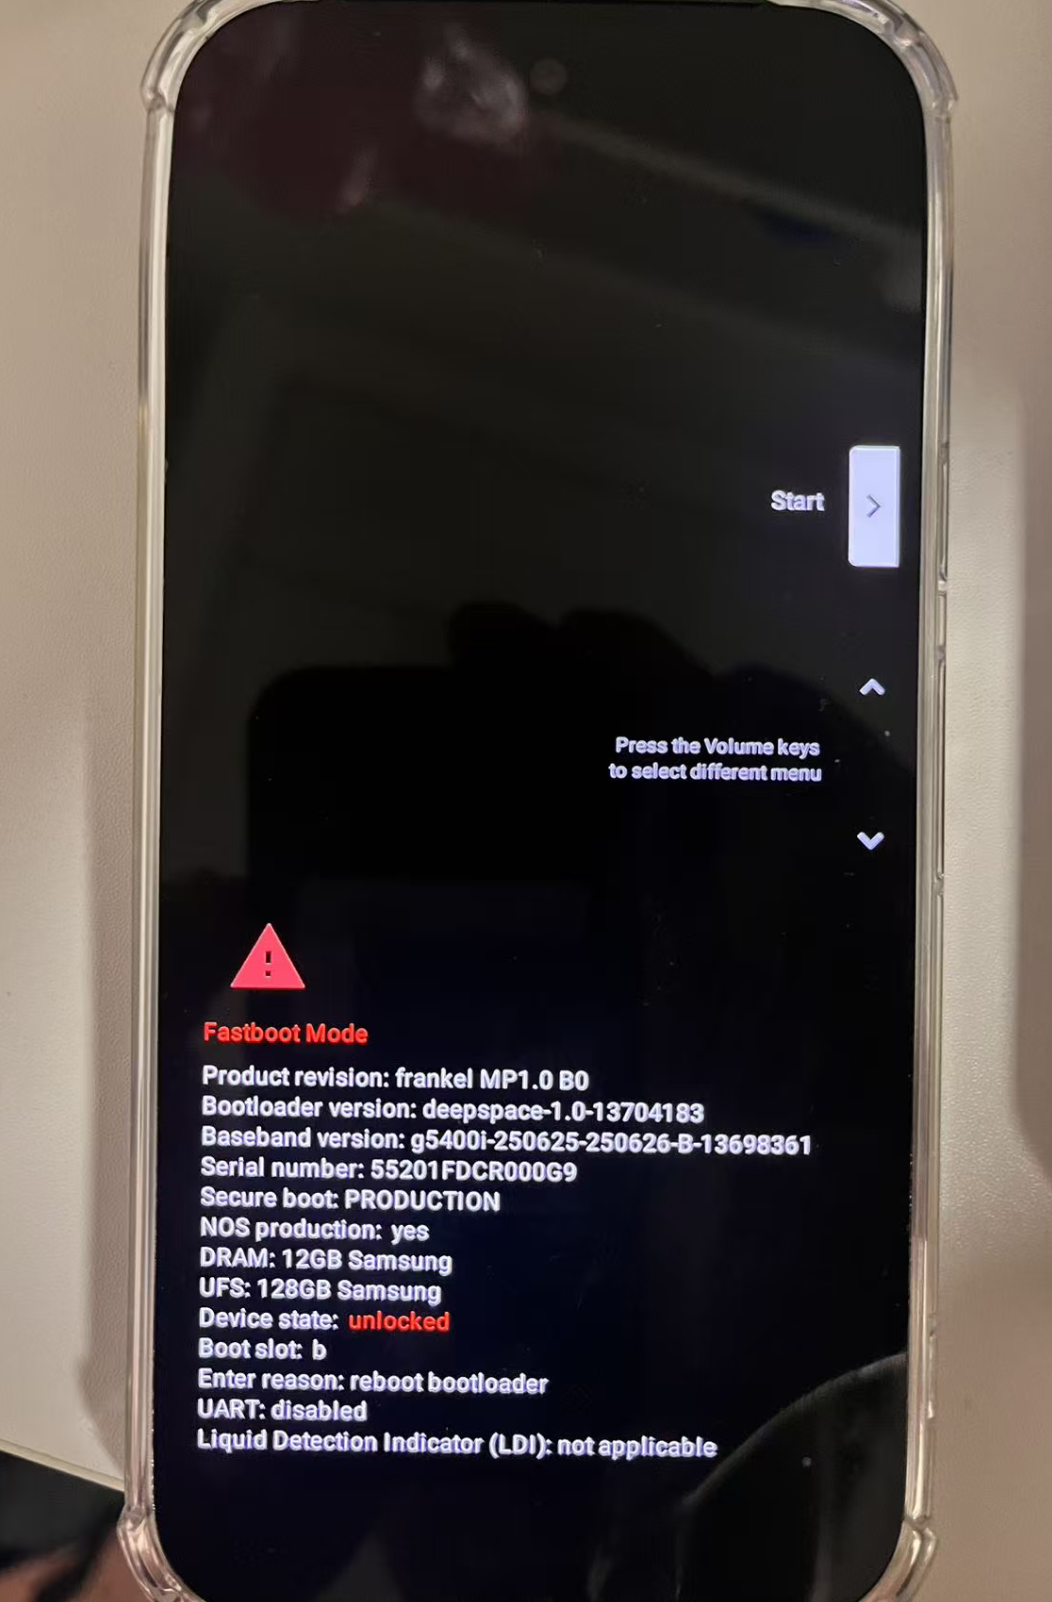
- 手机自动重启进系统初始化界面
- 我没遇到, 我是上面的情况. 遇到问ai吧...
Step 10: 刷入 Magisk patched init_boot
确认材料都全, 随后真正刷入命令:
| Bash | |
|---|---|
1 2 3 4 | |
正常输出应显示:
| Bash | |
|---|---|
1 2 3 4 5 6 7 8 9 10 11 | |
现在执行, 手机会重启. 开机时会出现橙色 bootloader unlocked 警告, 很正常, 等几秒后会继续进入系统:
| Bash | |
|---|---|
1 | |
Step 11: 重新配置新机, 梦回 Step 2
回到step 2, 一切重新开始, 这一部分走完就成为 root 用户了:
语言换成英文
不重要, skip:
选择我们的 "VPN Netbridge by MAC", 即: pixeltest
几步曲:
- 输入密码
- 点击
Advanced Option- Proxy:
Manual - Proxy Hostname:
192.168.2.1(review Step 1 中ifconfig bridge100) - Proxy Port:
7897(review Clash Verge 的 port 显示) - IP Settings:
DHCP
- Proxy:
后面的就是按顺序了, 看个人需求, 反正笔者是大多数 skip / No thanks 的
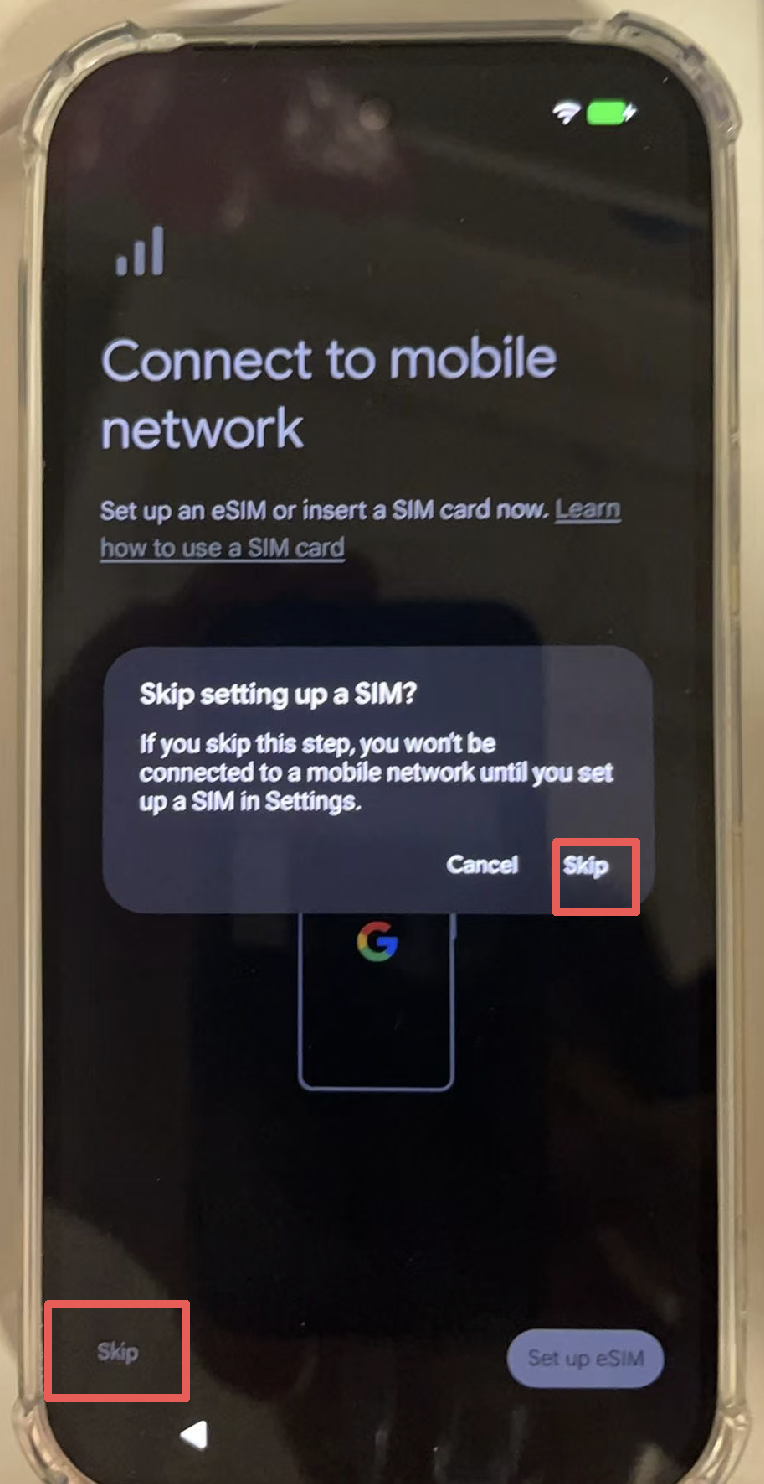
注意, 国内的sim和esim后面再展开. 因此这里skip:
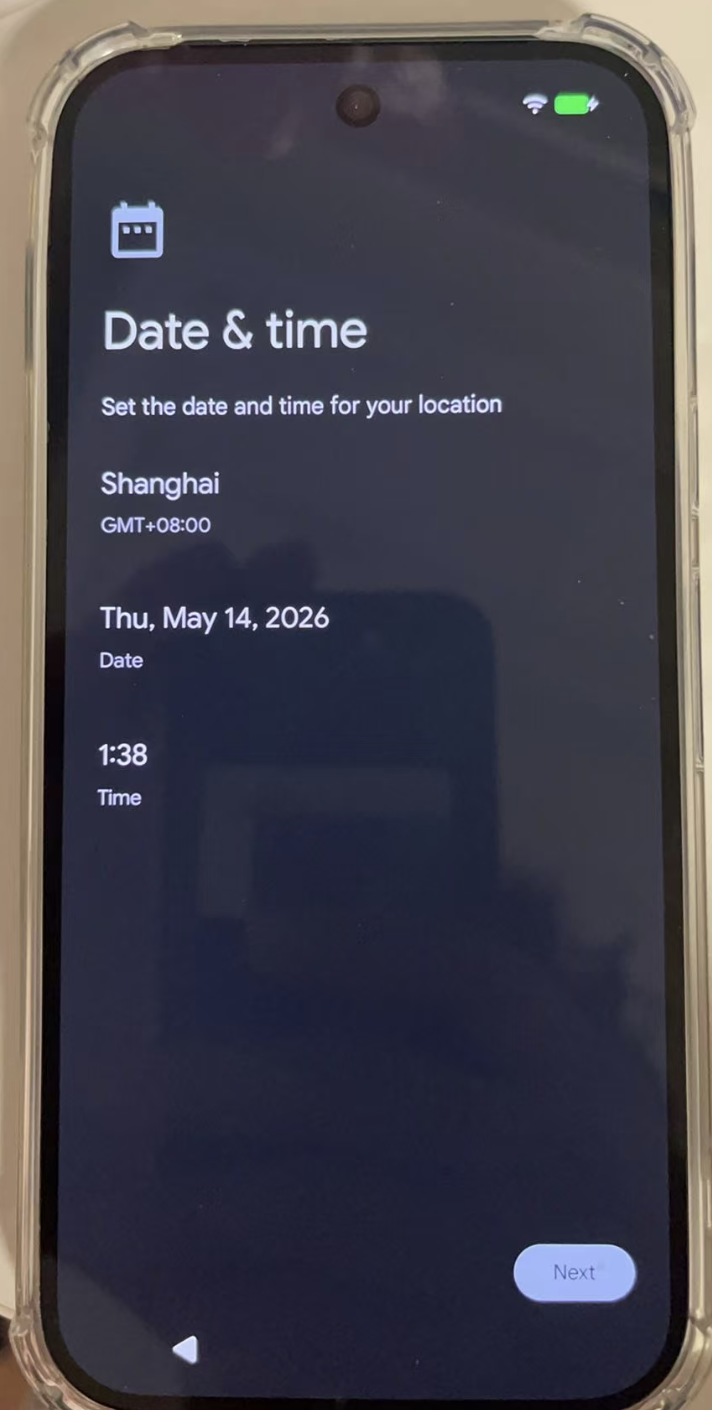
时区很重要:
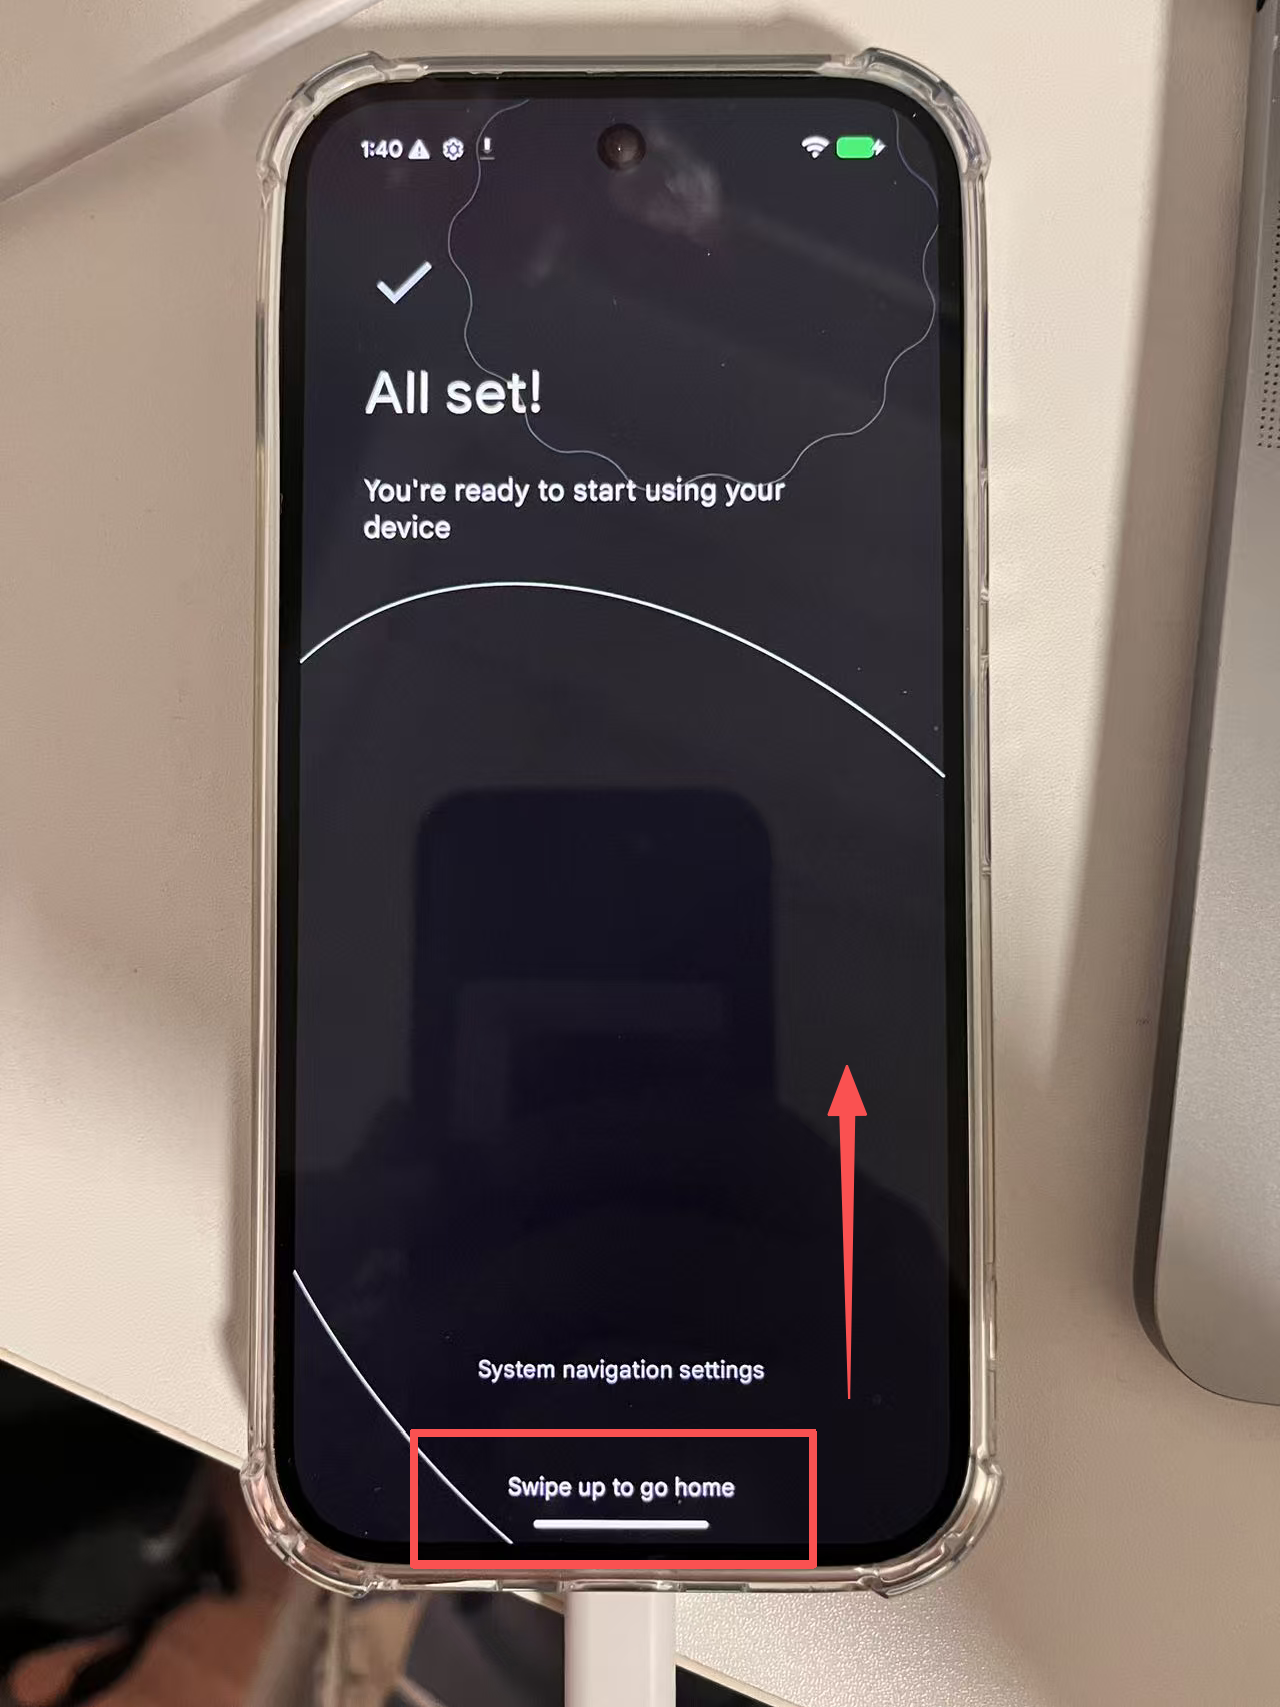
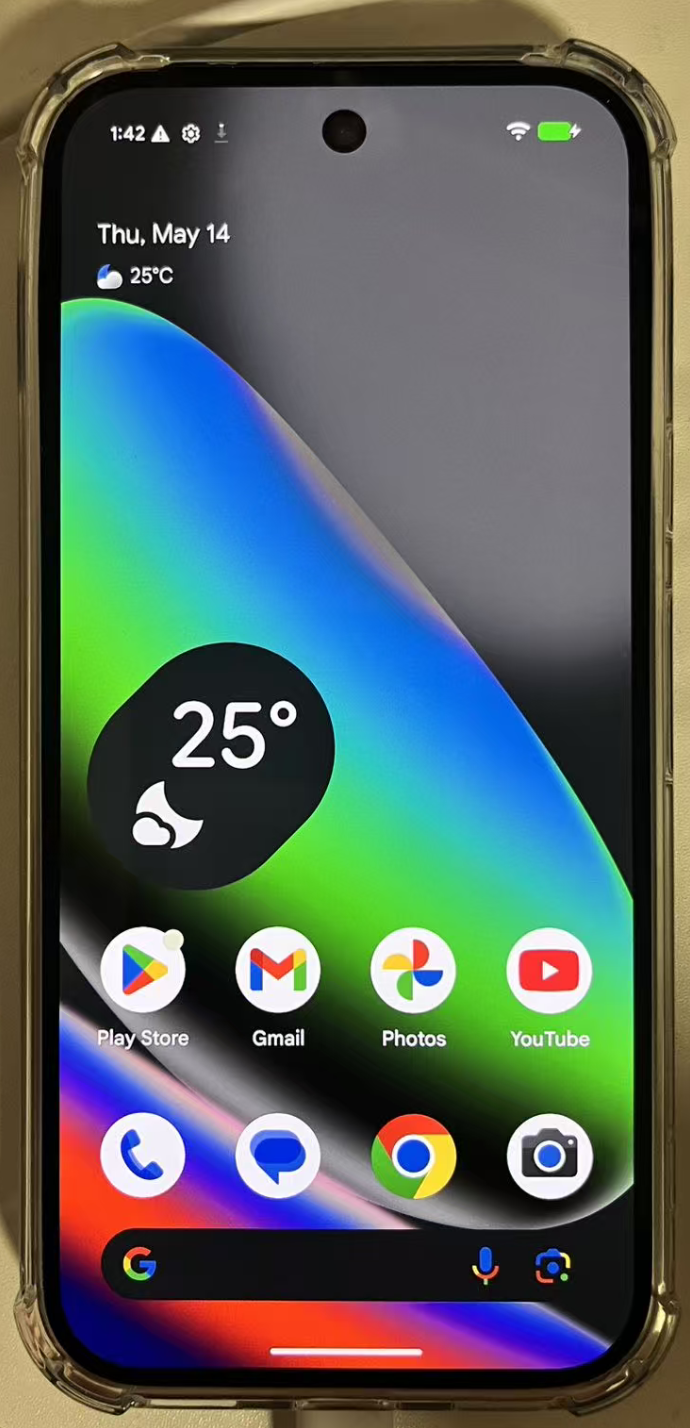
进入主页面:
Step 12: 重新 developer + usb, 梦回 Step 3 + 4
跟之前一样, 进入 developer option
| Bash | |
|---|---|
1 2 3 4 | |
跟之前一样, 打开 usb debugging
| Bash | |
|---|---|
1 2 3 4 | |
检验连接情况:
| Bash | |
|---|---|
1 2 | |
形如这样就ok:
| Bash | |
|---|---|
1 2 3 | |
Step 13: 重新安装 Magisk App
因为reboot会导致原数据被清空, 因此现在手机里的 Magisk App 已经没了
继续像 Step 7 中 adb install 一样:
| Bash | |
|---|---|
1 2 3 4 5 6 7 | |
现在打开 Magisk 完成设置:
此时它应该能检测到你已经刷入的 patched init_boot
应该会弹出 Additional setup required 或者类似提示
点"确认", 让它完成设置. 手机会根据指示自动重启一次
Step 14: 验证 root
在电脑端:
| Bash | |
|---|---|
1 | |
手机打开magisk, 弹窗点"确认".
此时电脑上:
| Text Only | |
|---|---|
1 2 3 4 5 6 7 8 9 10 | |
恭喜你,大功告成! root成功!!! 🎆🎆🎆🐛🐛🐛😍😍😍🚀🚀🚀
Step 15: 备份与复盘
当我们进行了一系列操作时, 我们操作了什么?
(1) 备份很重要:
| Bash | |
|---|---|
1 2 3 4 5 | |
然后重启验证:
| Bash | |
|---|---|
1 2 | |
(2) 千万别乱动:
[1] 不要重新锁 bootloader
现在不要执行: fastboot flashing lock
因为我们现在的 init_boot 已经被 Magisk patch
如果在非完全原厂状态下重新锁 bootloader,可能直接无法启动
设备现在的长期状态应该是: bootloader unlocked + Magisk root
开机出现 unlocked warning 是正常现象
[2] Magisk 是什么? 作用是? 背后原理是?
Android 系统有很多目录, 例如:
| Bash | |
|---|---|
1 2 3 4 | |
传统改机以前会直接改这些系统分区. 缺点是:
- 容易改坏系统
- OTA 更新麻烦
- 恢复麻烦
- 安全性差
Magisk 的思路是 systemless modification:
不真正改系统分区. 而是在开机时通过 Magisk 把某些文件、脚本、配置“挂载/注入”进去. 让系统看起来像被改过
所以 Magisk 模块本质上是一包文件和脚本,通常包括:
| Bash | |
|---|---|
1 2 3 4 | |
人话理解
- root 像 sudo
- Magisk 模块像开机自动加载的系统插件
Magisk 模块适合做: 每次开机都自动生效的系统级修改
有点像 linux 里的 systemd service. 每次开机运行指定脚本
[3] 我们这次是如何获得 root 权限的?
这次不是通过漏洞提权,而是通过解锁 bootloader 后,主动刷入被 Magisk 修改过的 init_boot 镜像来获得 root
workflow:
| Bash | |
|---|---|
1 2 3 4 5 6 7 8 | |
- bootloader 解锁本身不等于 root
fastboot flashing unlock做的事情是, 允许设备启动非完全官方签名状态的镜像- 也就是说, 允许启动用户刷入的修改镜像
init_boot.img何意味- Pixel 10 这种新 Android 设备, root 重点通常不在传统的
boot.img - 而在
init_boot.img, 它里面包含启动早期用到的ramdisk/init相关内容
- Pixel 10 这种新 Android 设备, root 重点通常不在传统的
- Magisk patch 做了什么:
- 它把原厂 init_boot.img 内置的workflow改成:
- 原厂 init_boot.img
- Magisk 启动
- Magisk su 支持
- Magisk daemon 启动逻辑
- systemless mount 支持
- 开机时, 系统不是单纯按原厂 init 流程走, 而是 Magisk 会先介入. 相当于 hijack
- 回忆我们之前的
frankel:/ # iduid=0(root) gid=0(root) groups=0(root) context=u:r:magisk:s0- root说明, 拿到了 Linux/Android 内核意义上的 root 用户
context=u:r:magisk:s0说明这个 root shell 是通过 Magisk 的上下文跑起来的, 不是普通系统进程自然拥有的 root
- 它把原厂 init_boot.img 内置的workflow改成:
- su 是怎么生效的?
- Android 原厂系统里普通用户不能直接执行
su - Magisk 刷入后, 会在系统启动时准备好自己的 root 管理环境
- 现在执行
su, Magisk 会接管这个请求,并通过 Magisk App 的授权策略决定OKorPermission denied
- 现在执行
- Android 原厂系统里普通用户不能直接执行
What's Next:
- 配置 VPN
- 安装 Termux
将手机变成开发者友好的"linux"!
见下一篇文章: 《程序员为什么需要Pixel》